I had a fun time talking about art and life as an artist with the folks over at The Show ATL Podcast. It’s a bit long but hopefully a worthwhile listen. Follow the link below or download from your favorite Podcast app.
Process of a Commissioned Panel
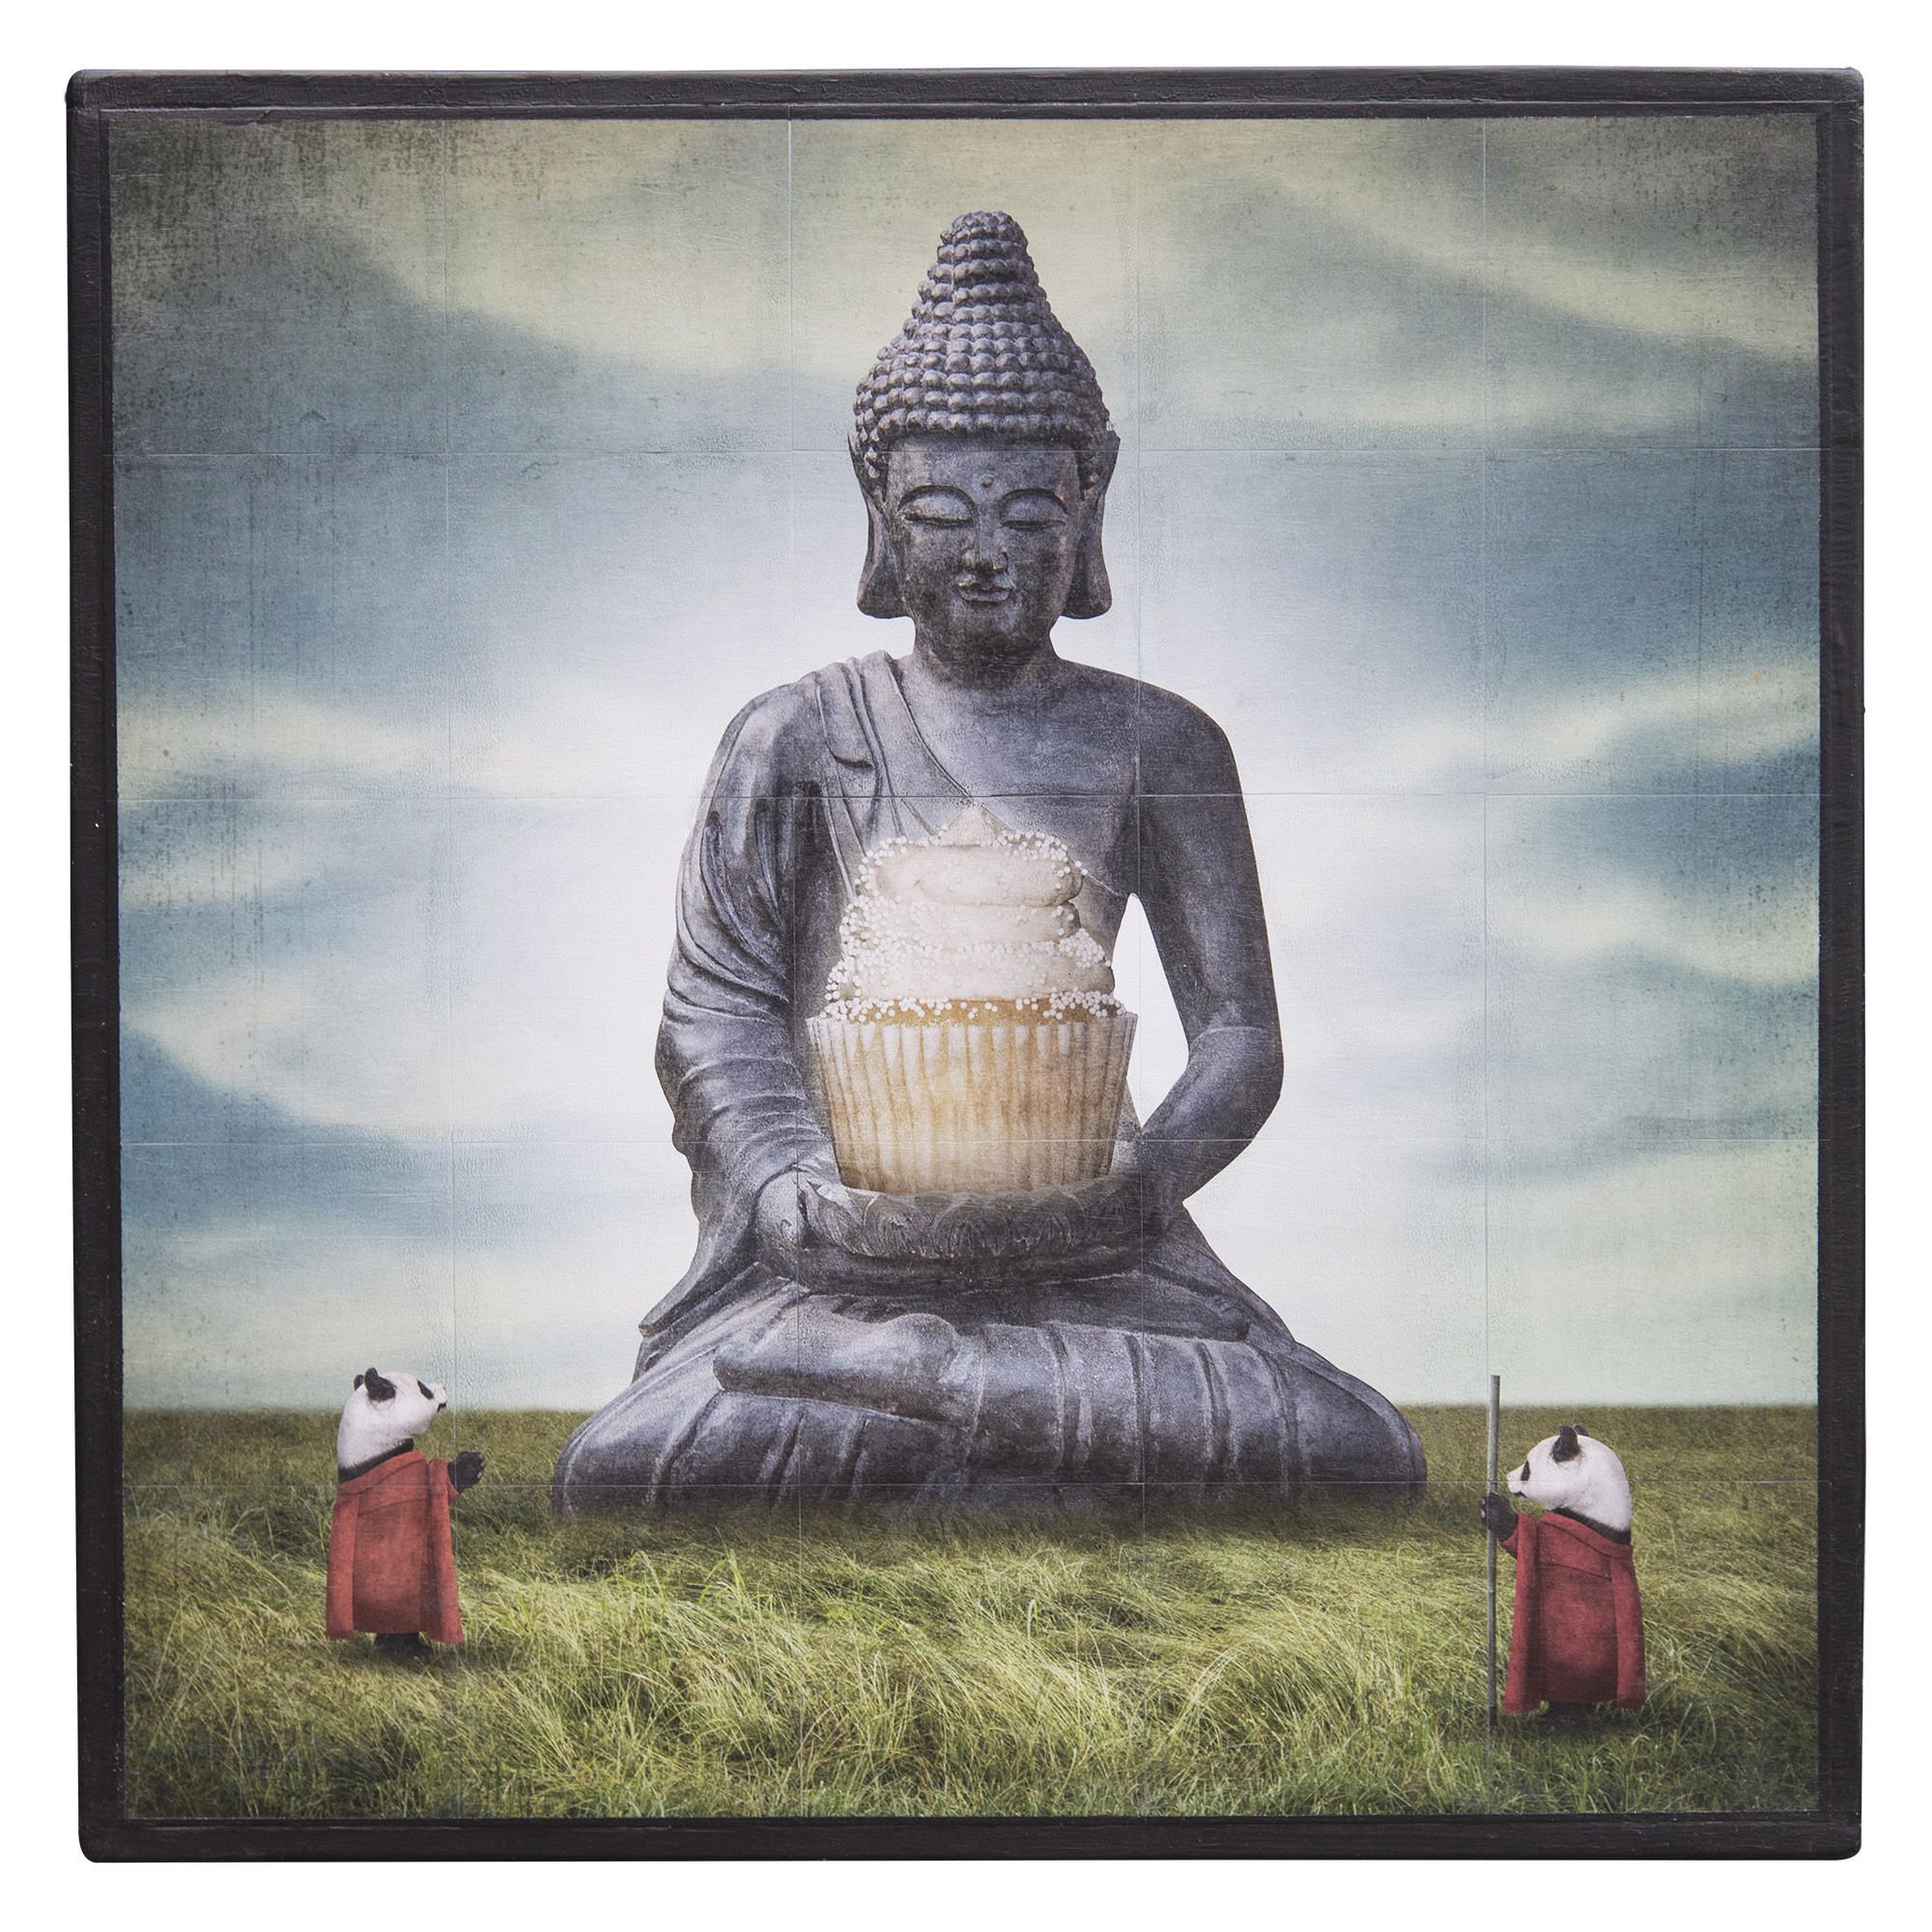
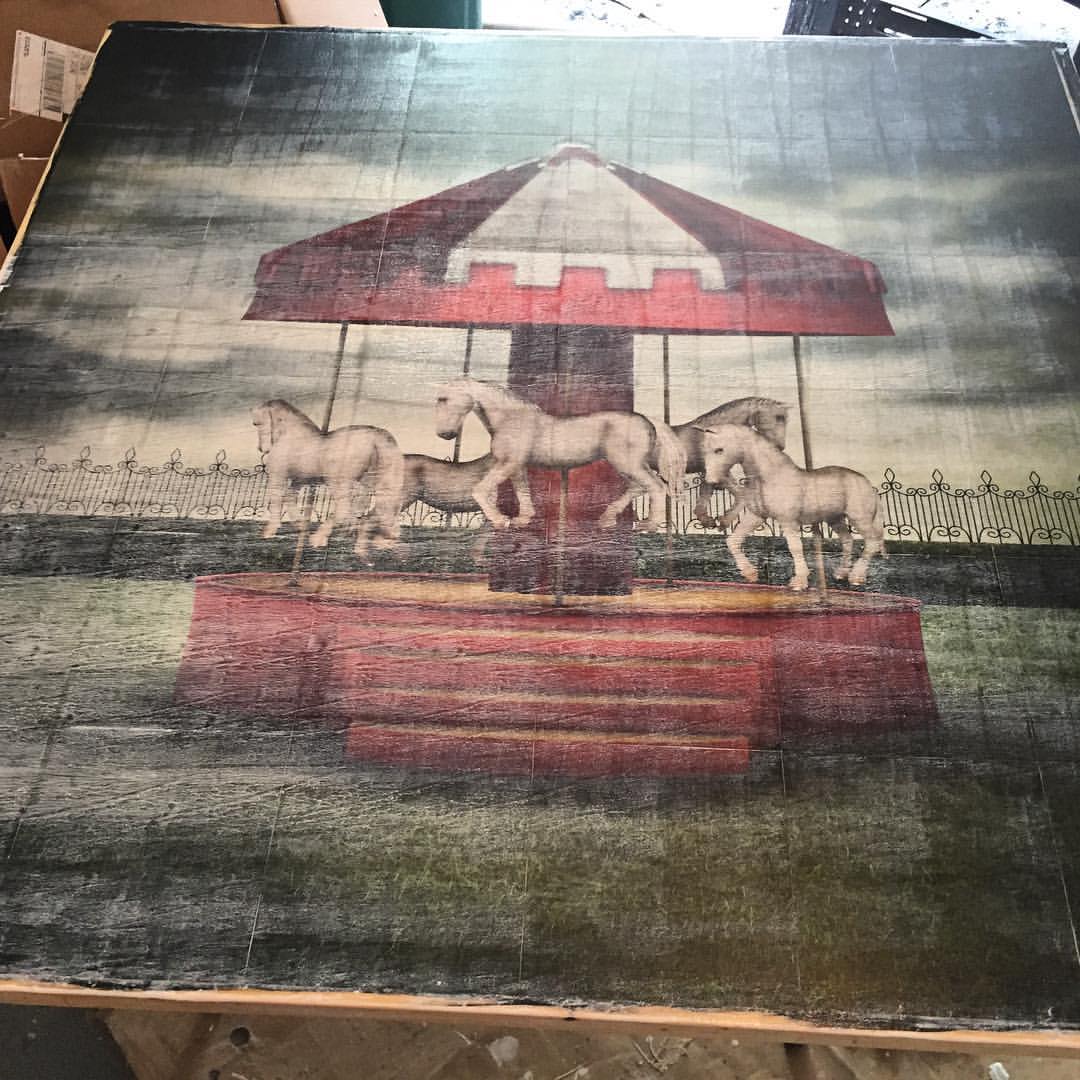
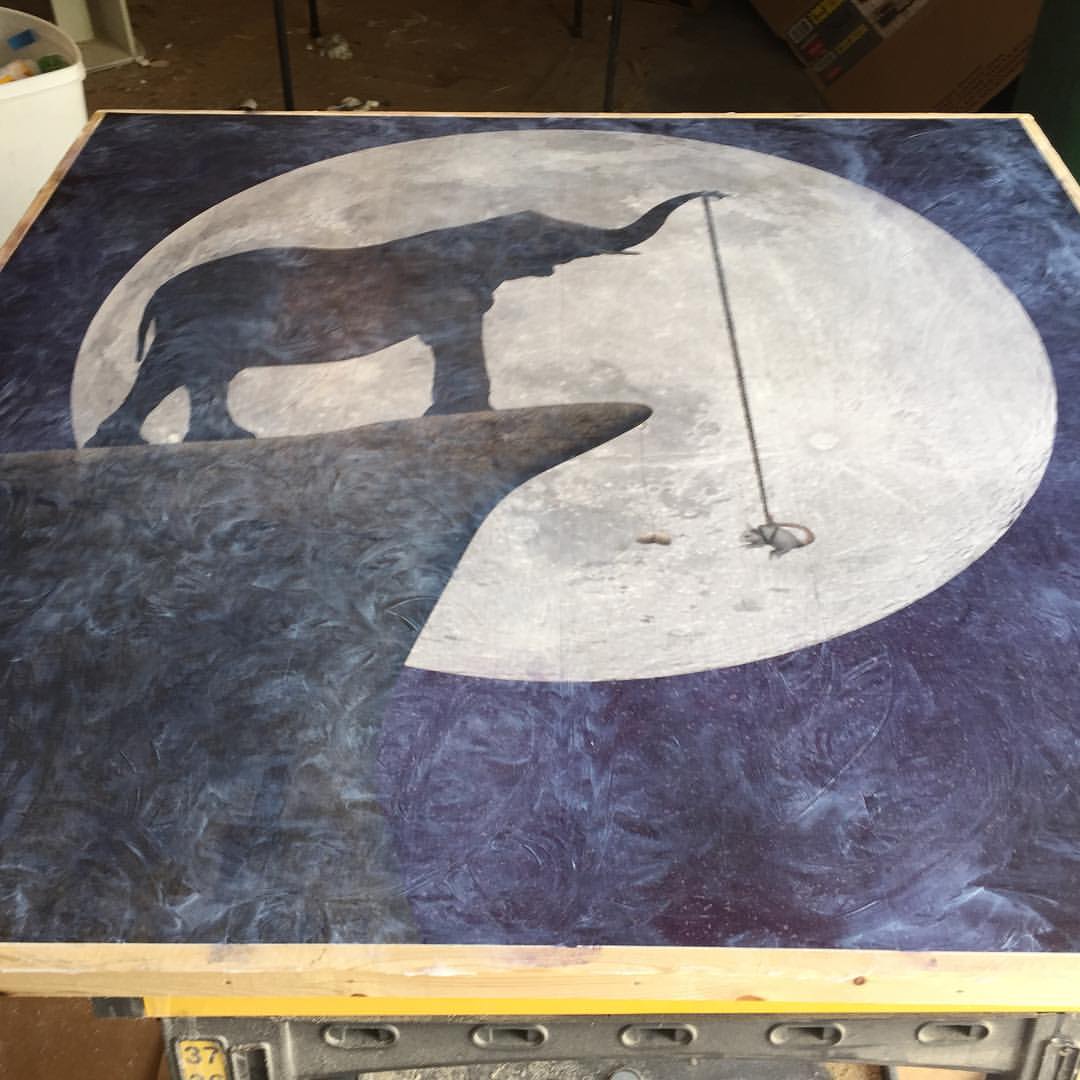
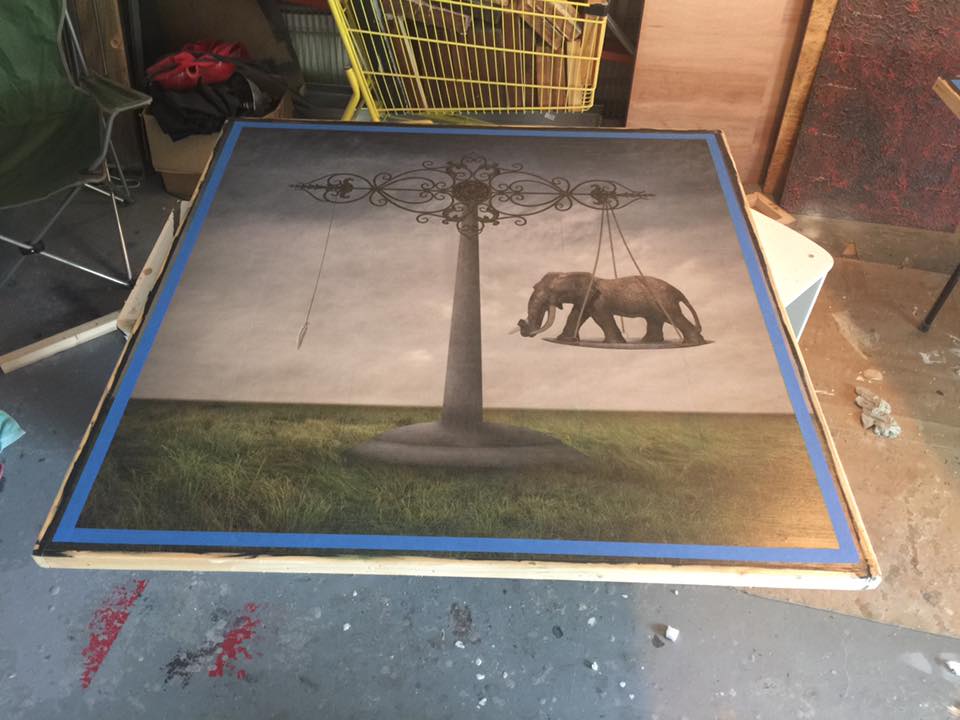
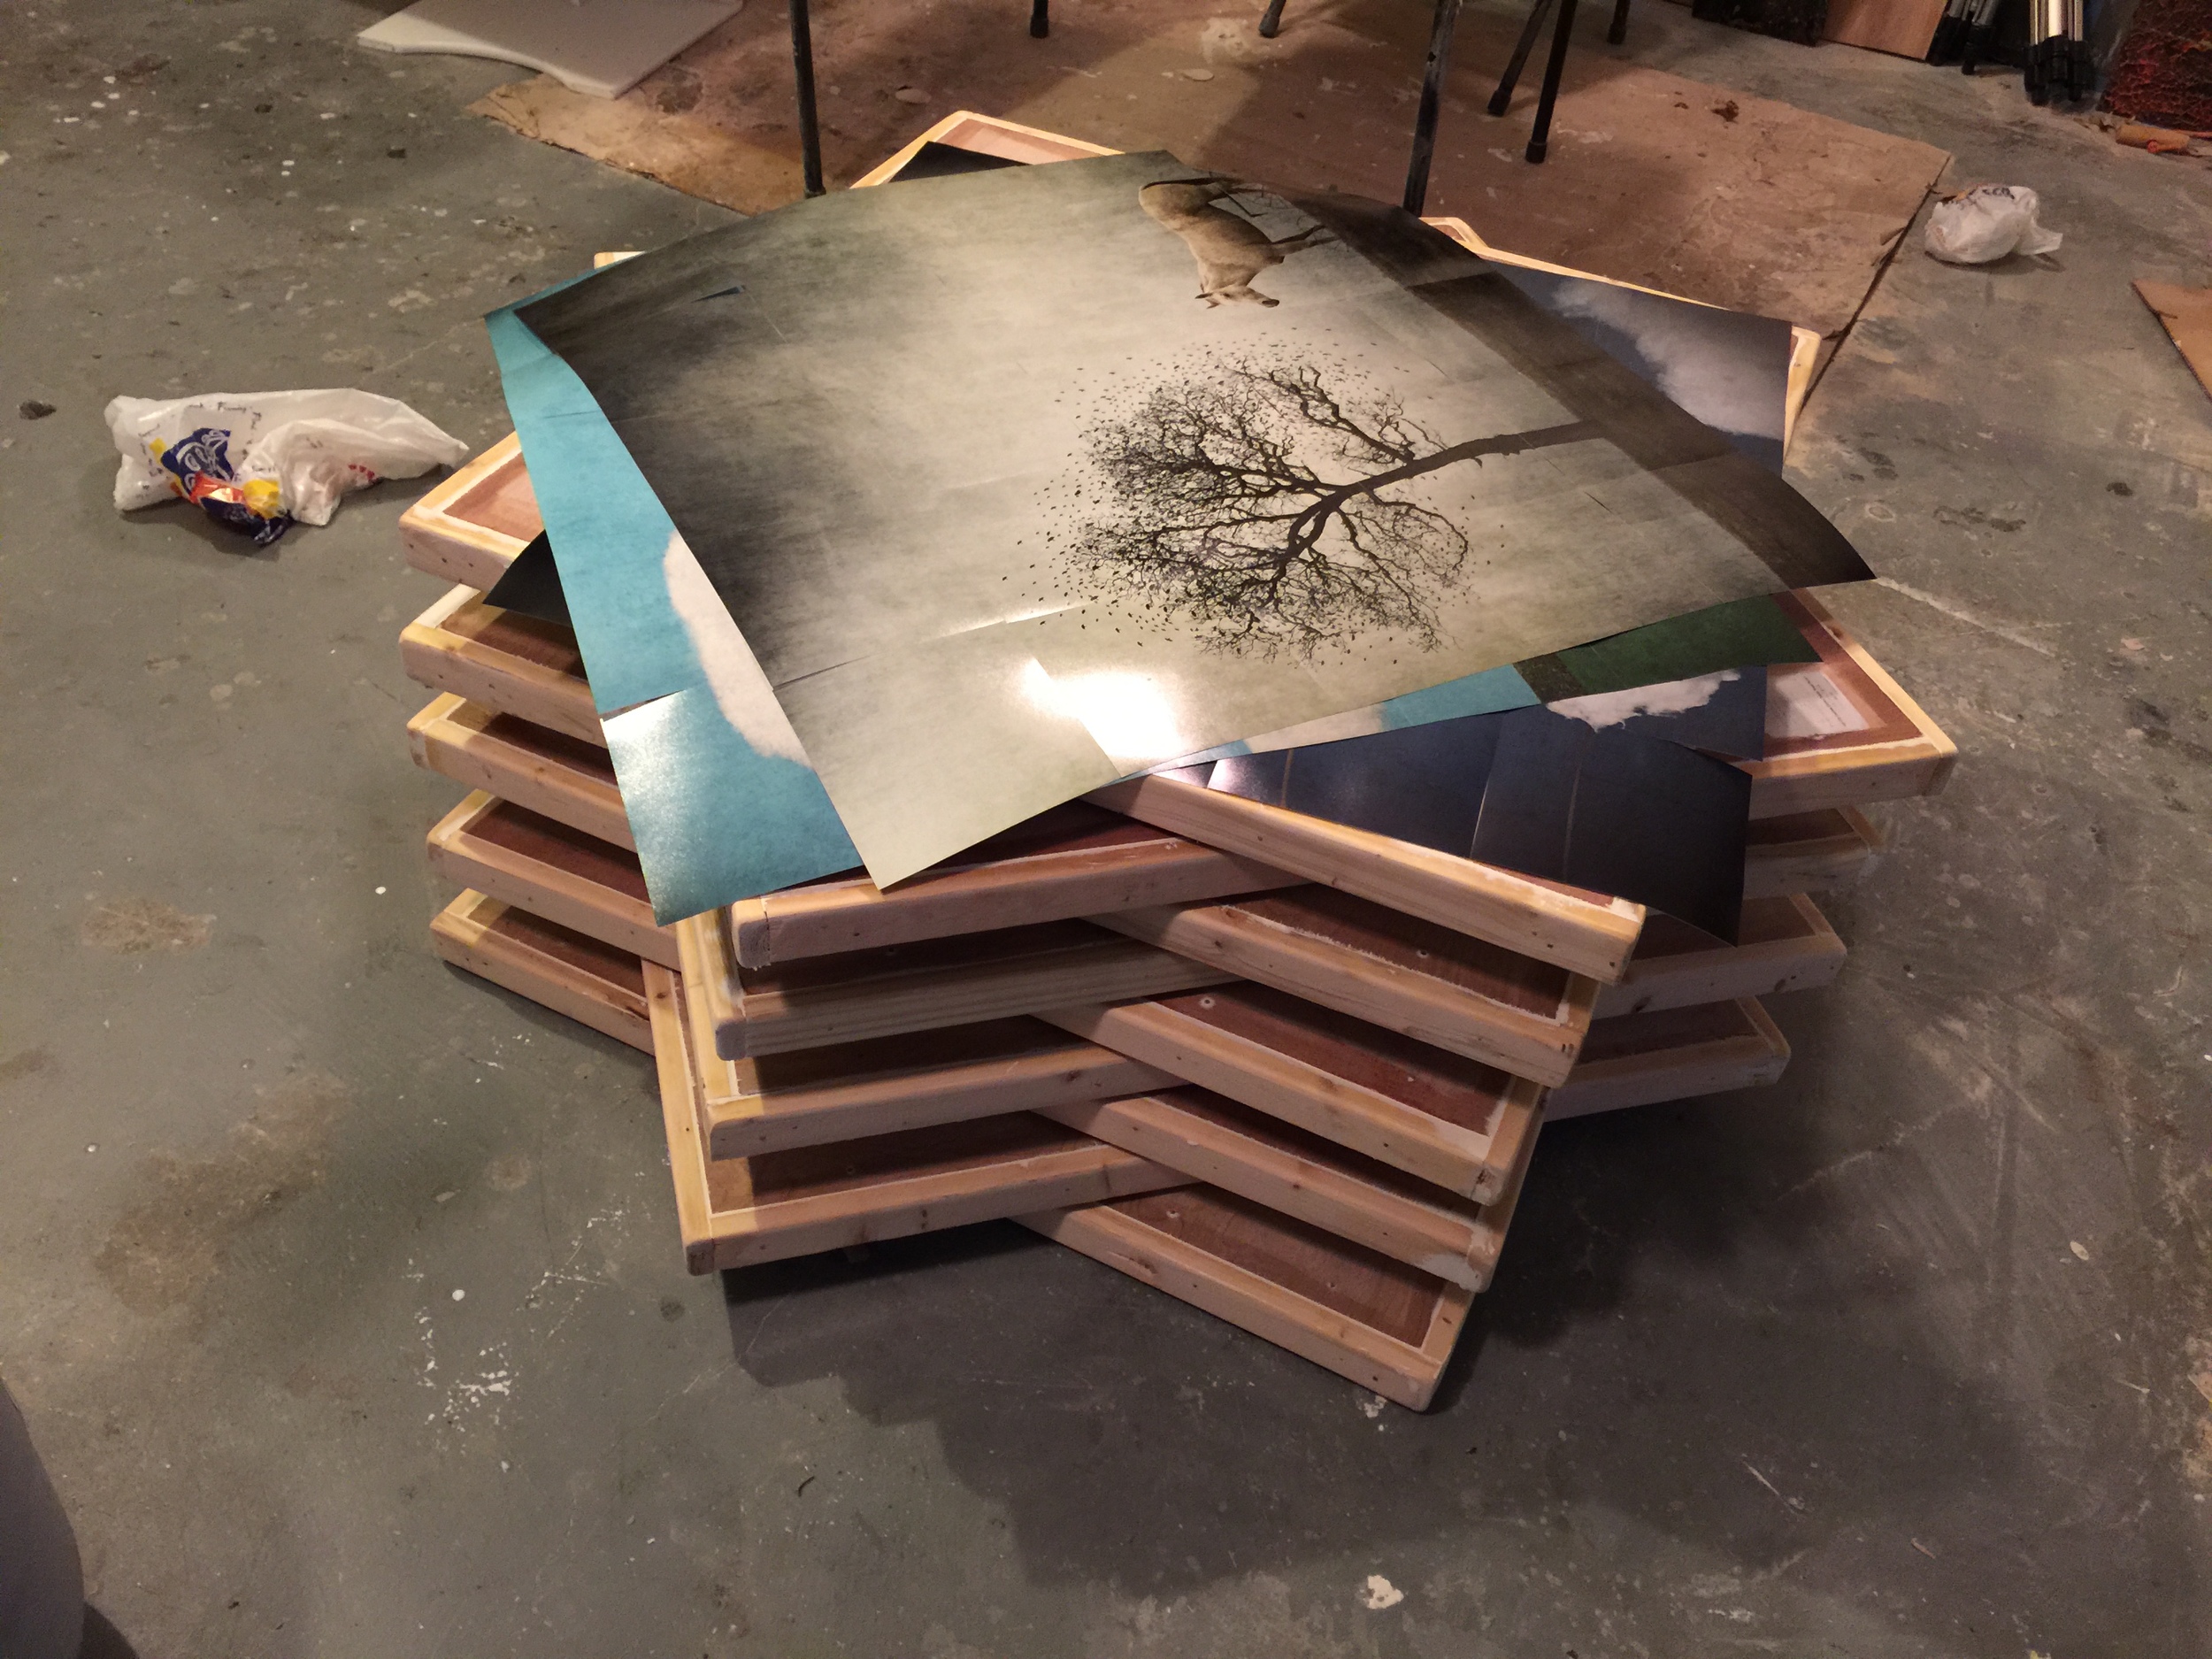
This is the physical construction process of a commission of "All Things Equal". It's made up of 25 6"x6" prints to achieve the 30"x30" image size. Other materials used include watercolors, pva glue, tempera paint, gel medium, tape, and acrylic paint.
A SLIGHTLY NEW DIRECTION
In art, I've found artificial constraints create a sense of liberation. There's something to be said about creating boundaries to work inside of. Artists have an unlimited field of potential, availability, and dimensionality to work with in terms of materials, sizes, and methods of process. This openness can lead to being overwhelmed with options. For many, too many options create blocks and distractions, resulting in a lack of proliferation of work. And this can lead to disjointed workflows and consistency across the body of work.
This is why I chose to create an artificial constraint. A false boundary. This is why I made the conscious decision to work in a square format. Much of my work revolves around the notion of vintage. The images I create are intended to bring a sense of nostalgia and of being something found. I've always explained the physical pieces as being akin to something found in an attic. The work is a nod to being a part of some larger narrative or story, like a children's book, from long ago. However we only see one page from the book. This allows, I hope, the viewer to impart as much meaning into the work I have in it's creation.
The square format is also less common than other sizes. Sometimes this makes the pieces a bit awkward for placement wherever they may hang. Being almost completely made up of photographs I've taken myself, the format lends itself to the much used square frames from medium format cameras. All the same design principals apply, high and low horizons, thirds, and steelyard aid in symmetry and balance overall. The square dimensions of the pieces have a peculiar quality to them, they lack space and it can represent a boxing in. This artificial constraint of choosing the square format generates challenges of creating enough of a narrative without being cluttered. For all it's challenges, I feel I have found success in these balances, both narratively and compositionally. I admit, some are more successful than others, however, that is not really something for me to decide. That's up to the viewer.
Recently I've decided to attempt to expand beyond the square format. Now that I feel extremely comfortable working within the confines of a square, how will I do when I have more space to work with. Can I create narratives and images telling similar half-narratives while balancing freedom, success, liberation, with a hint of isolation and struggle? It's this dichotomy I strive to attain in each piece. A visual irony if you will. Some work becomes a little tongue-in-cheek and others a bit more pensive.
My next series of work will consist of more open space to work with. Varying size formats to hopefully allow me to wonder more freely. Opening up the dimensions creates new challenges and limitations. I need to find a level of efficacy and efficiency in the work. That balance between less is more and too little is not enough while still telling a story, but not too much of it. I've also made the decision to create multiple versions of each piece. Each will have a whole scene I have in my mind while others will be elements of those scenes. The aim is multiple pieces from one, with different sizes (and yes, price points).
The art I enjoy the most is the art where the viewer has as much a role in its meaning as I do. This allows others to find their own connection with the work. I feel this vehicle allows the work to have a deeper meaning to those whom connect with it. It's as much about them as it was when it's created.
I have completed two new pieces already and have about one thousand different ideas for more. Time to get busy!
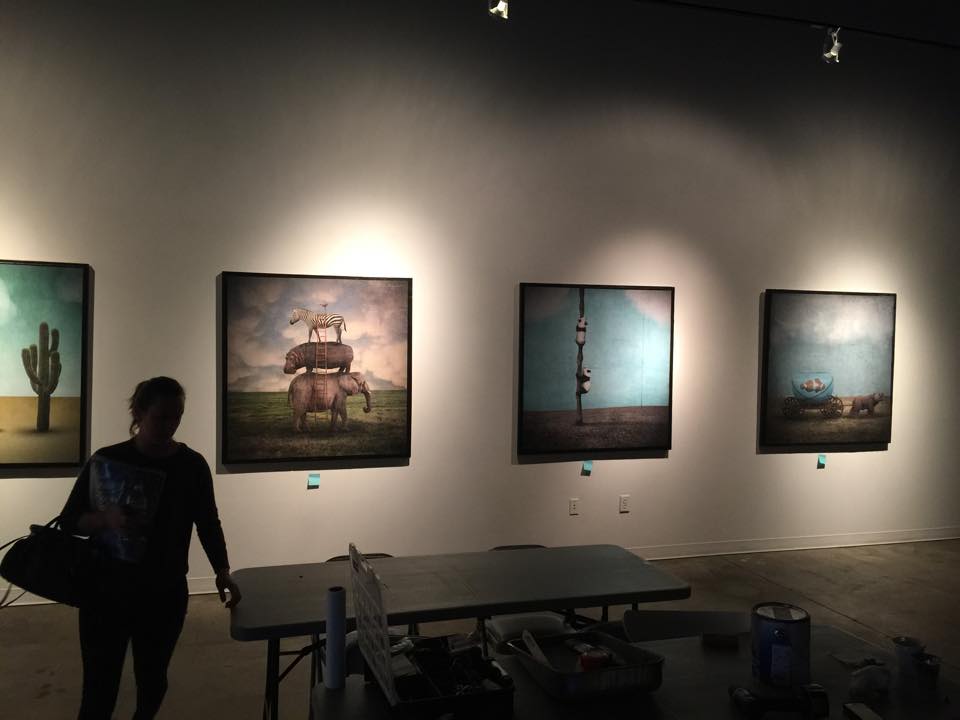
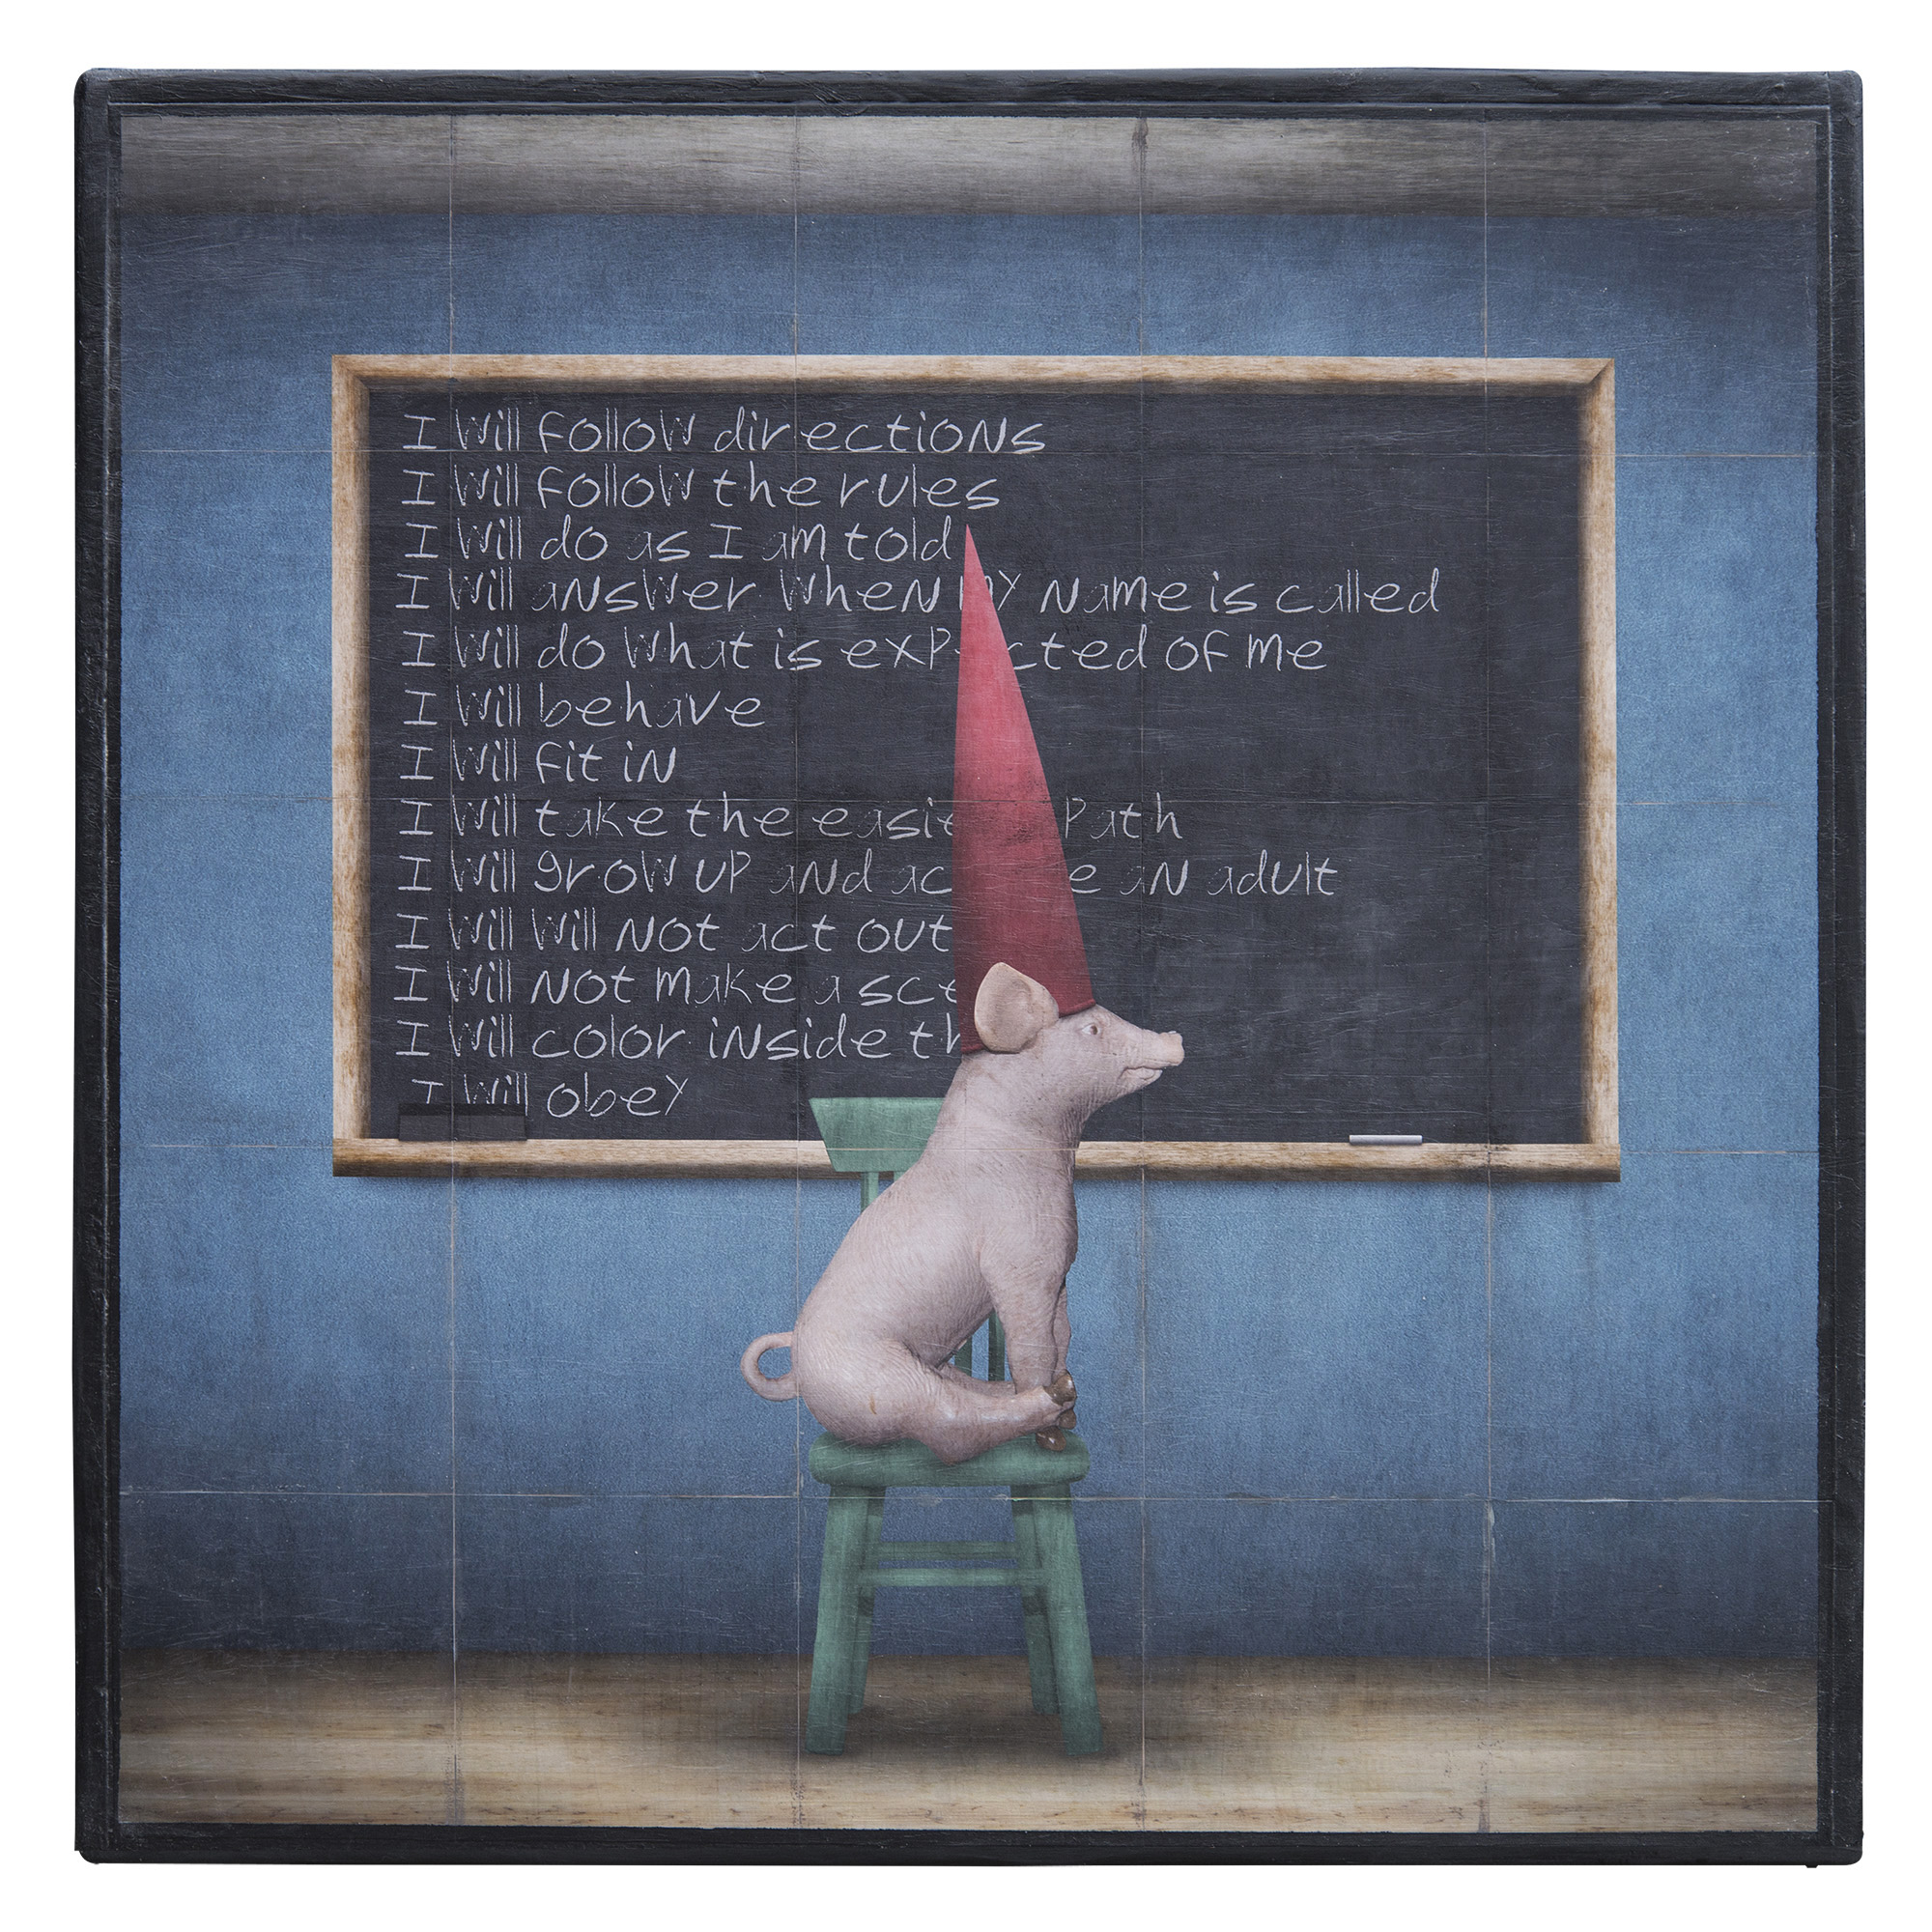
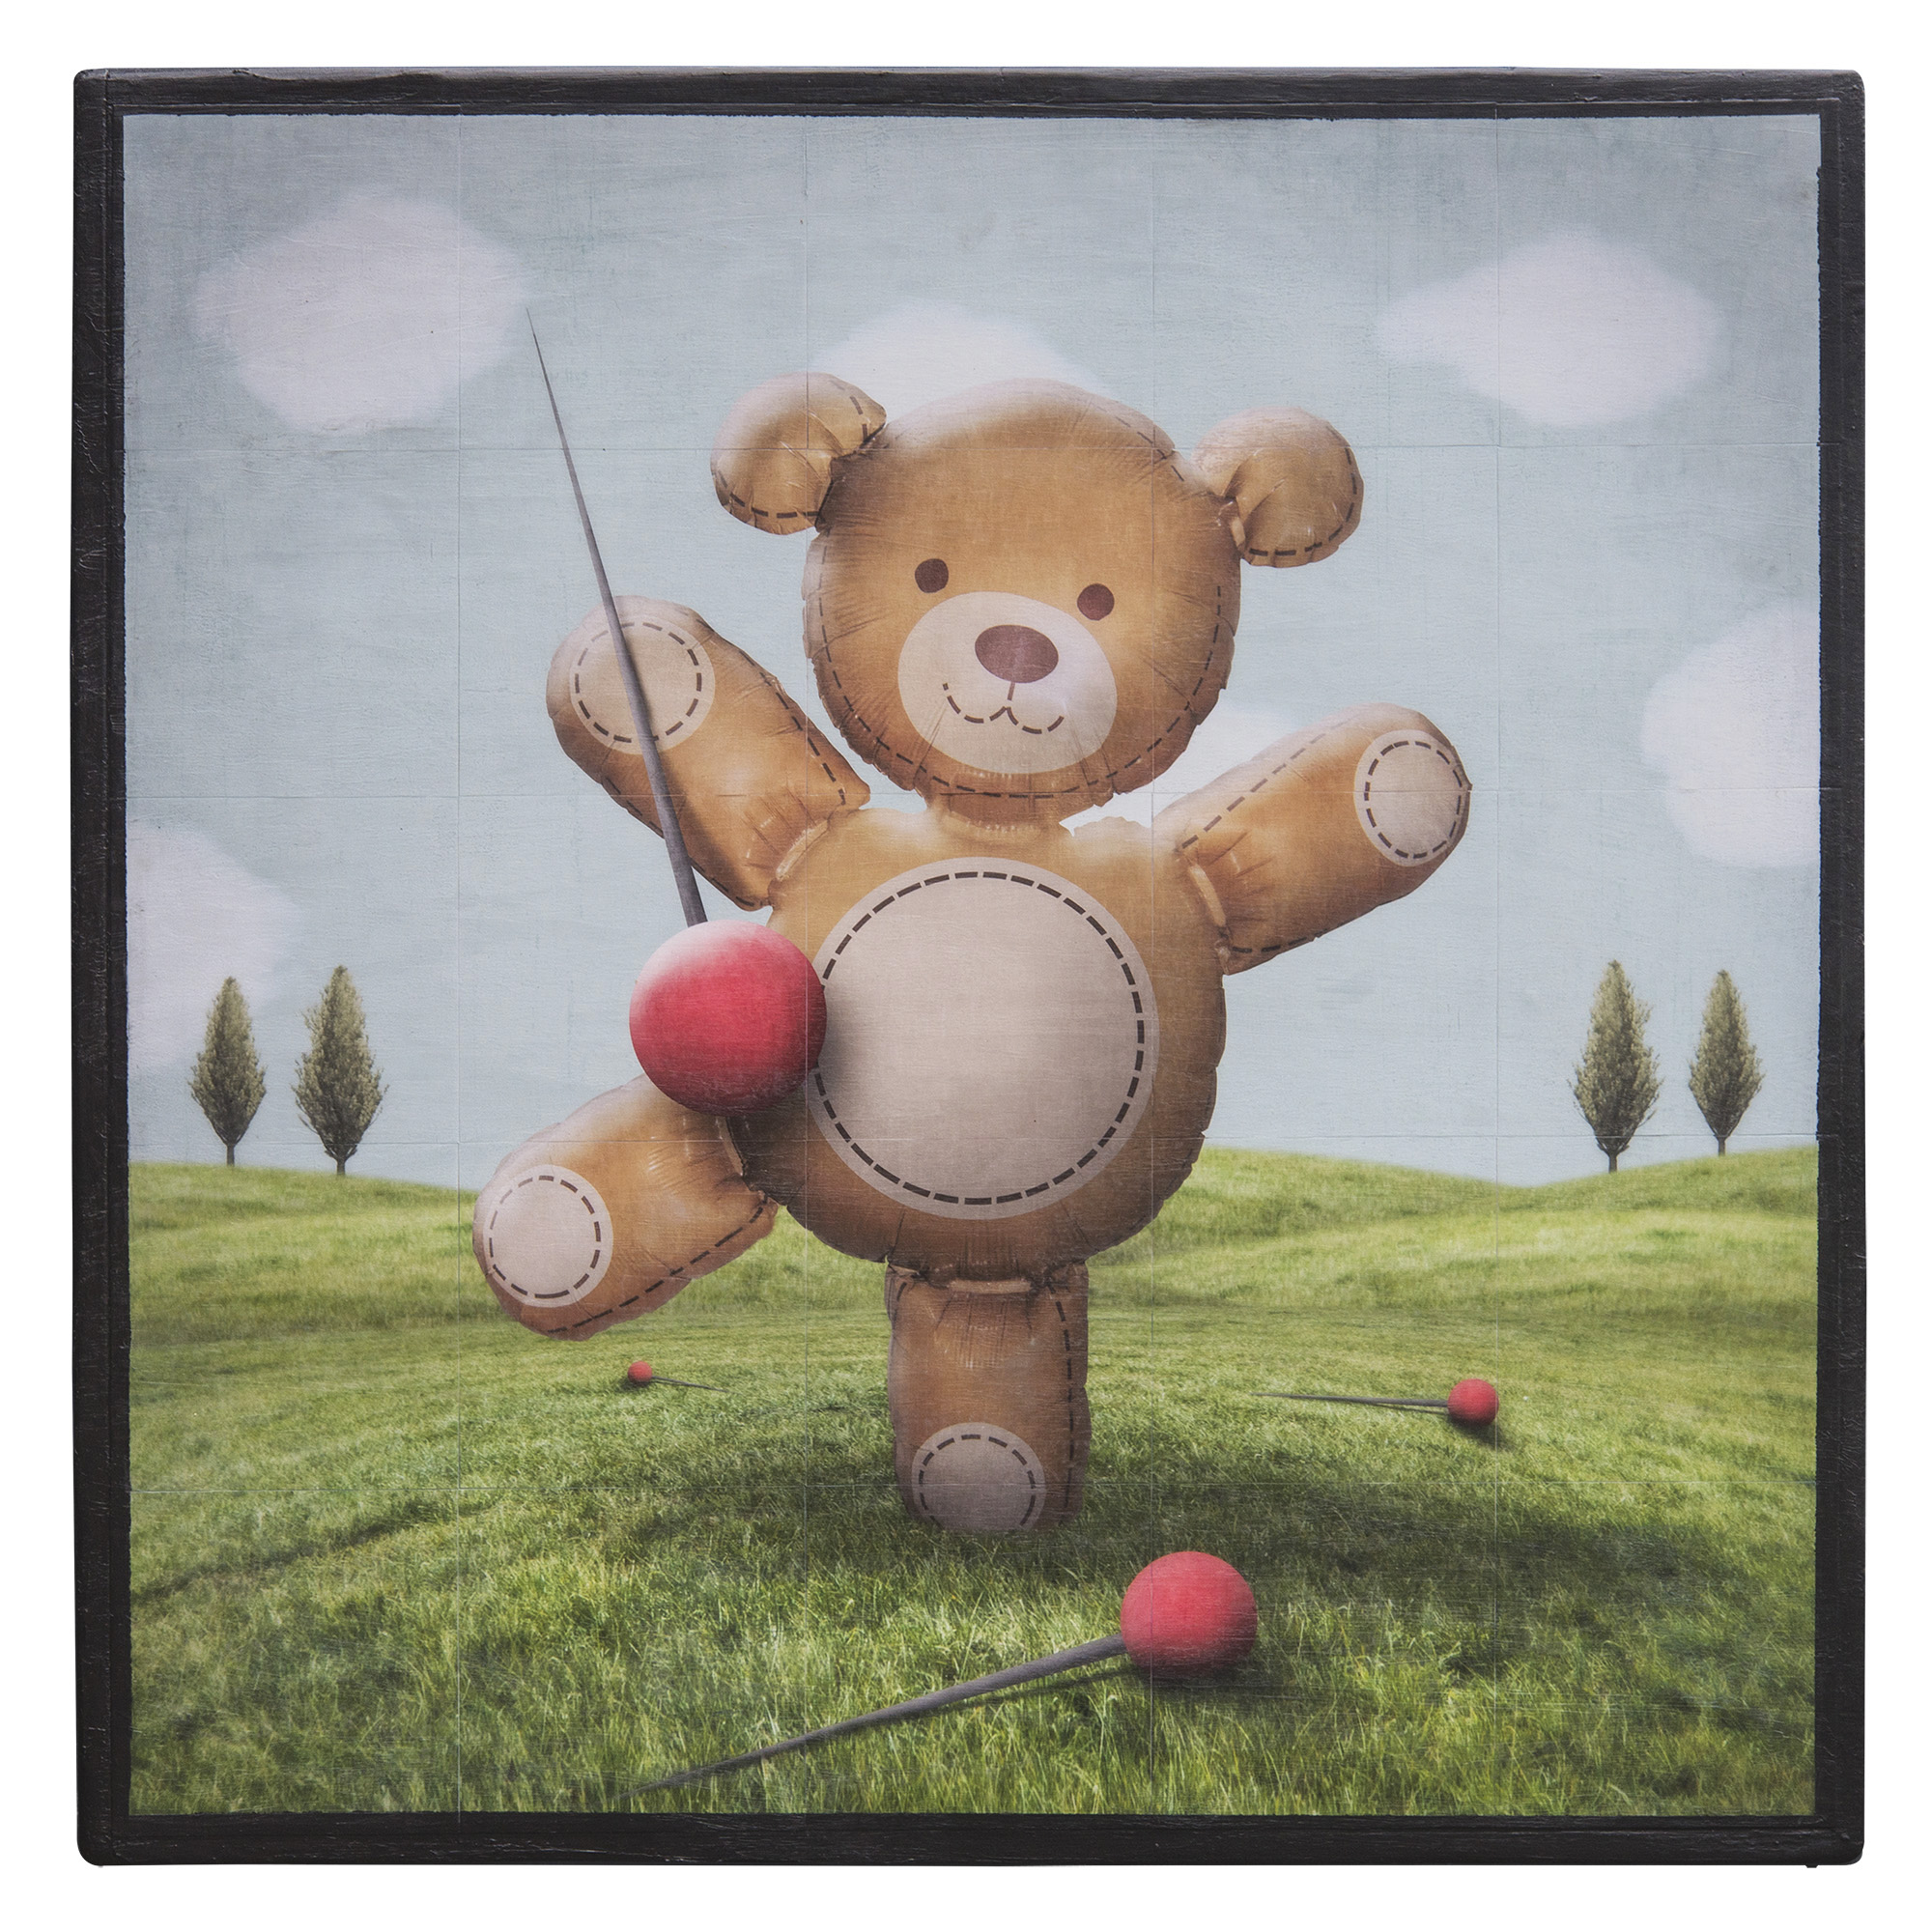
Physical Panels
Images of physical panels. 31" x 31" x 2.5" Gridded photograph on wood panel with watercolor, tempera, acrylic, and gel medium. Contact KAI LIN ART for sales inquiries.
404 408 4248 | info@kailinart.com


Gallery Show September 18, 2015 7pm-10pm


Process

I love materials!
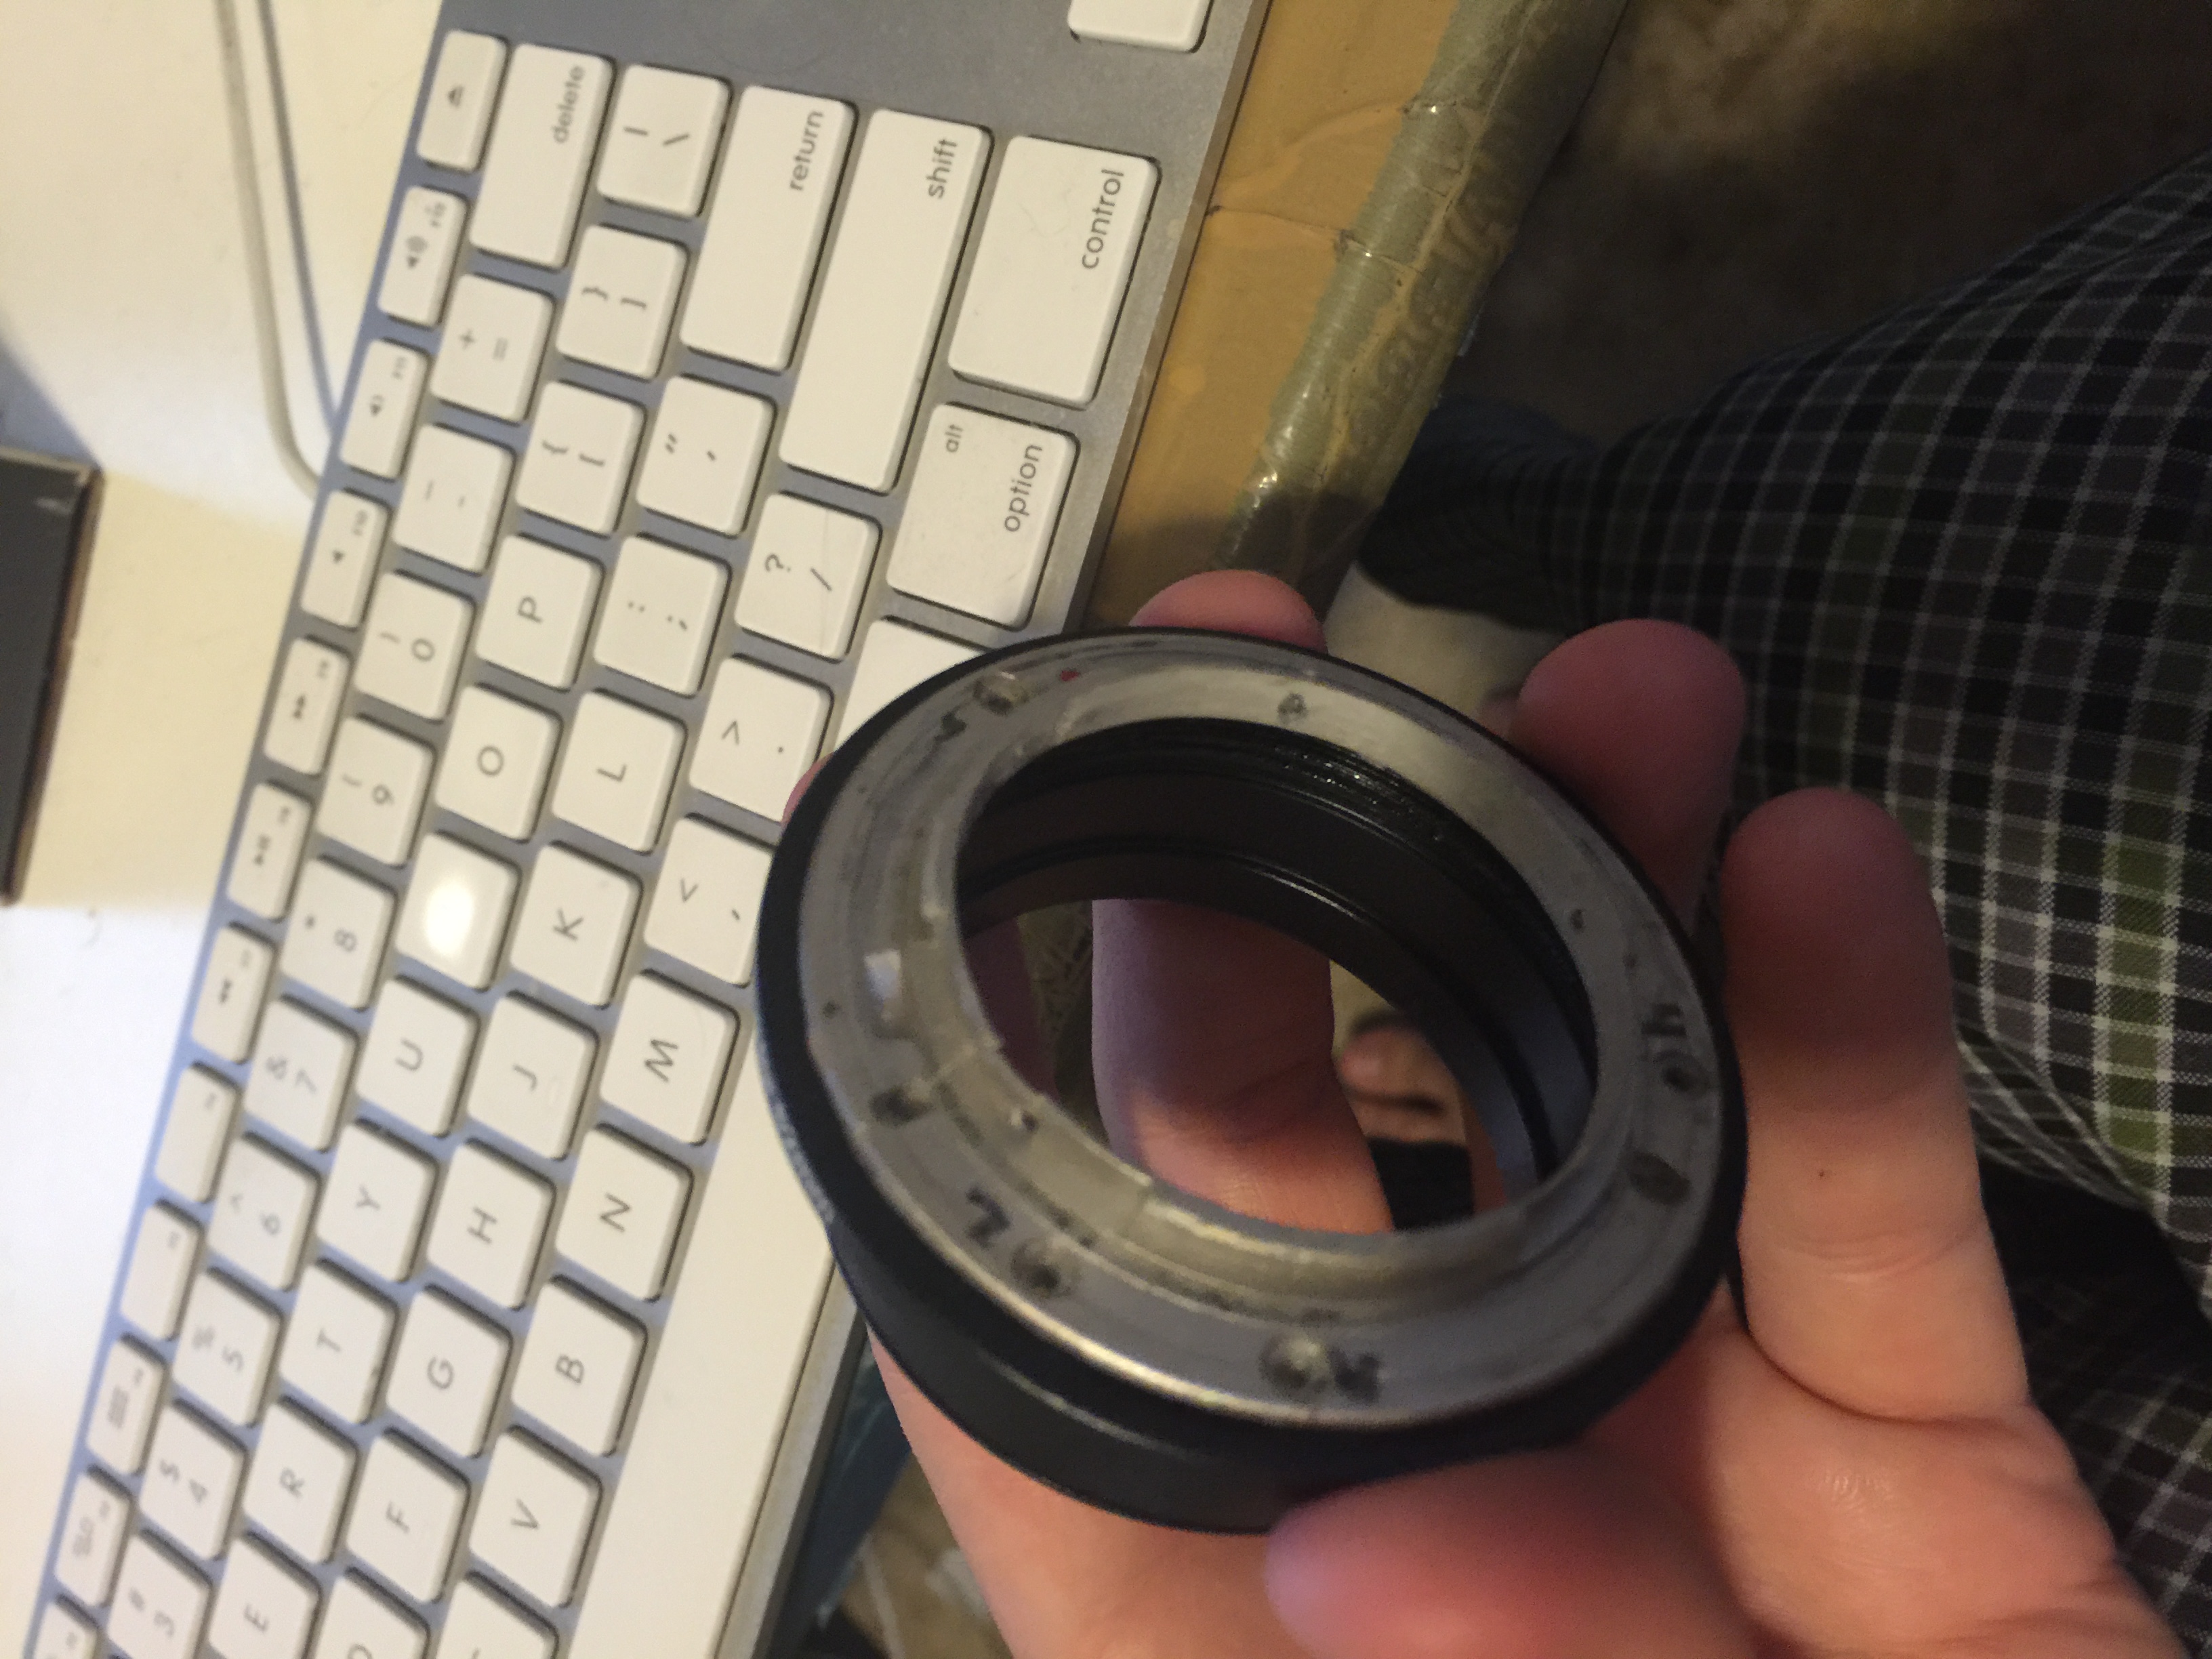
Making a DIY Macro Lens
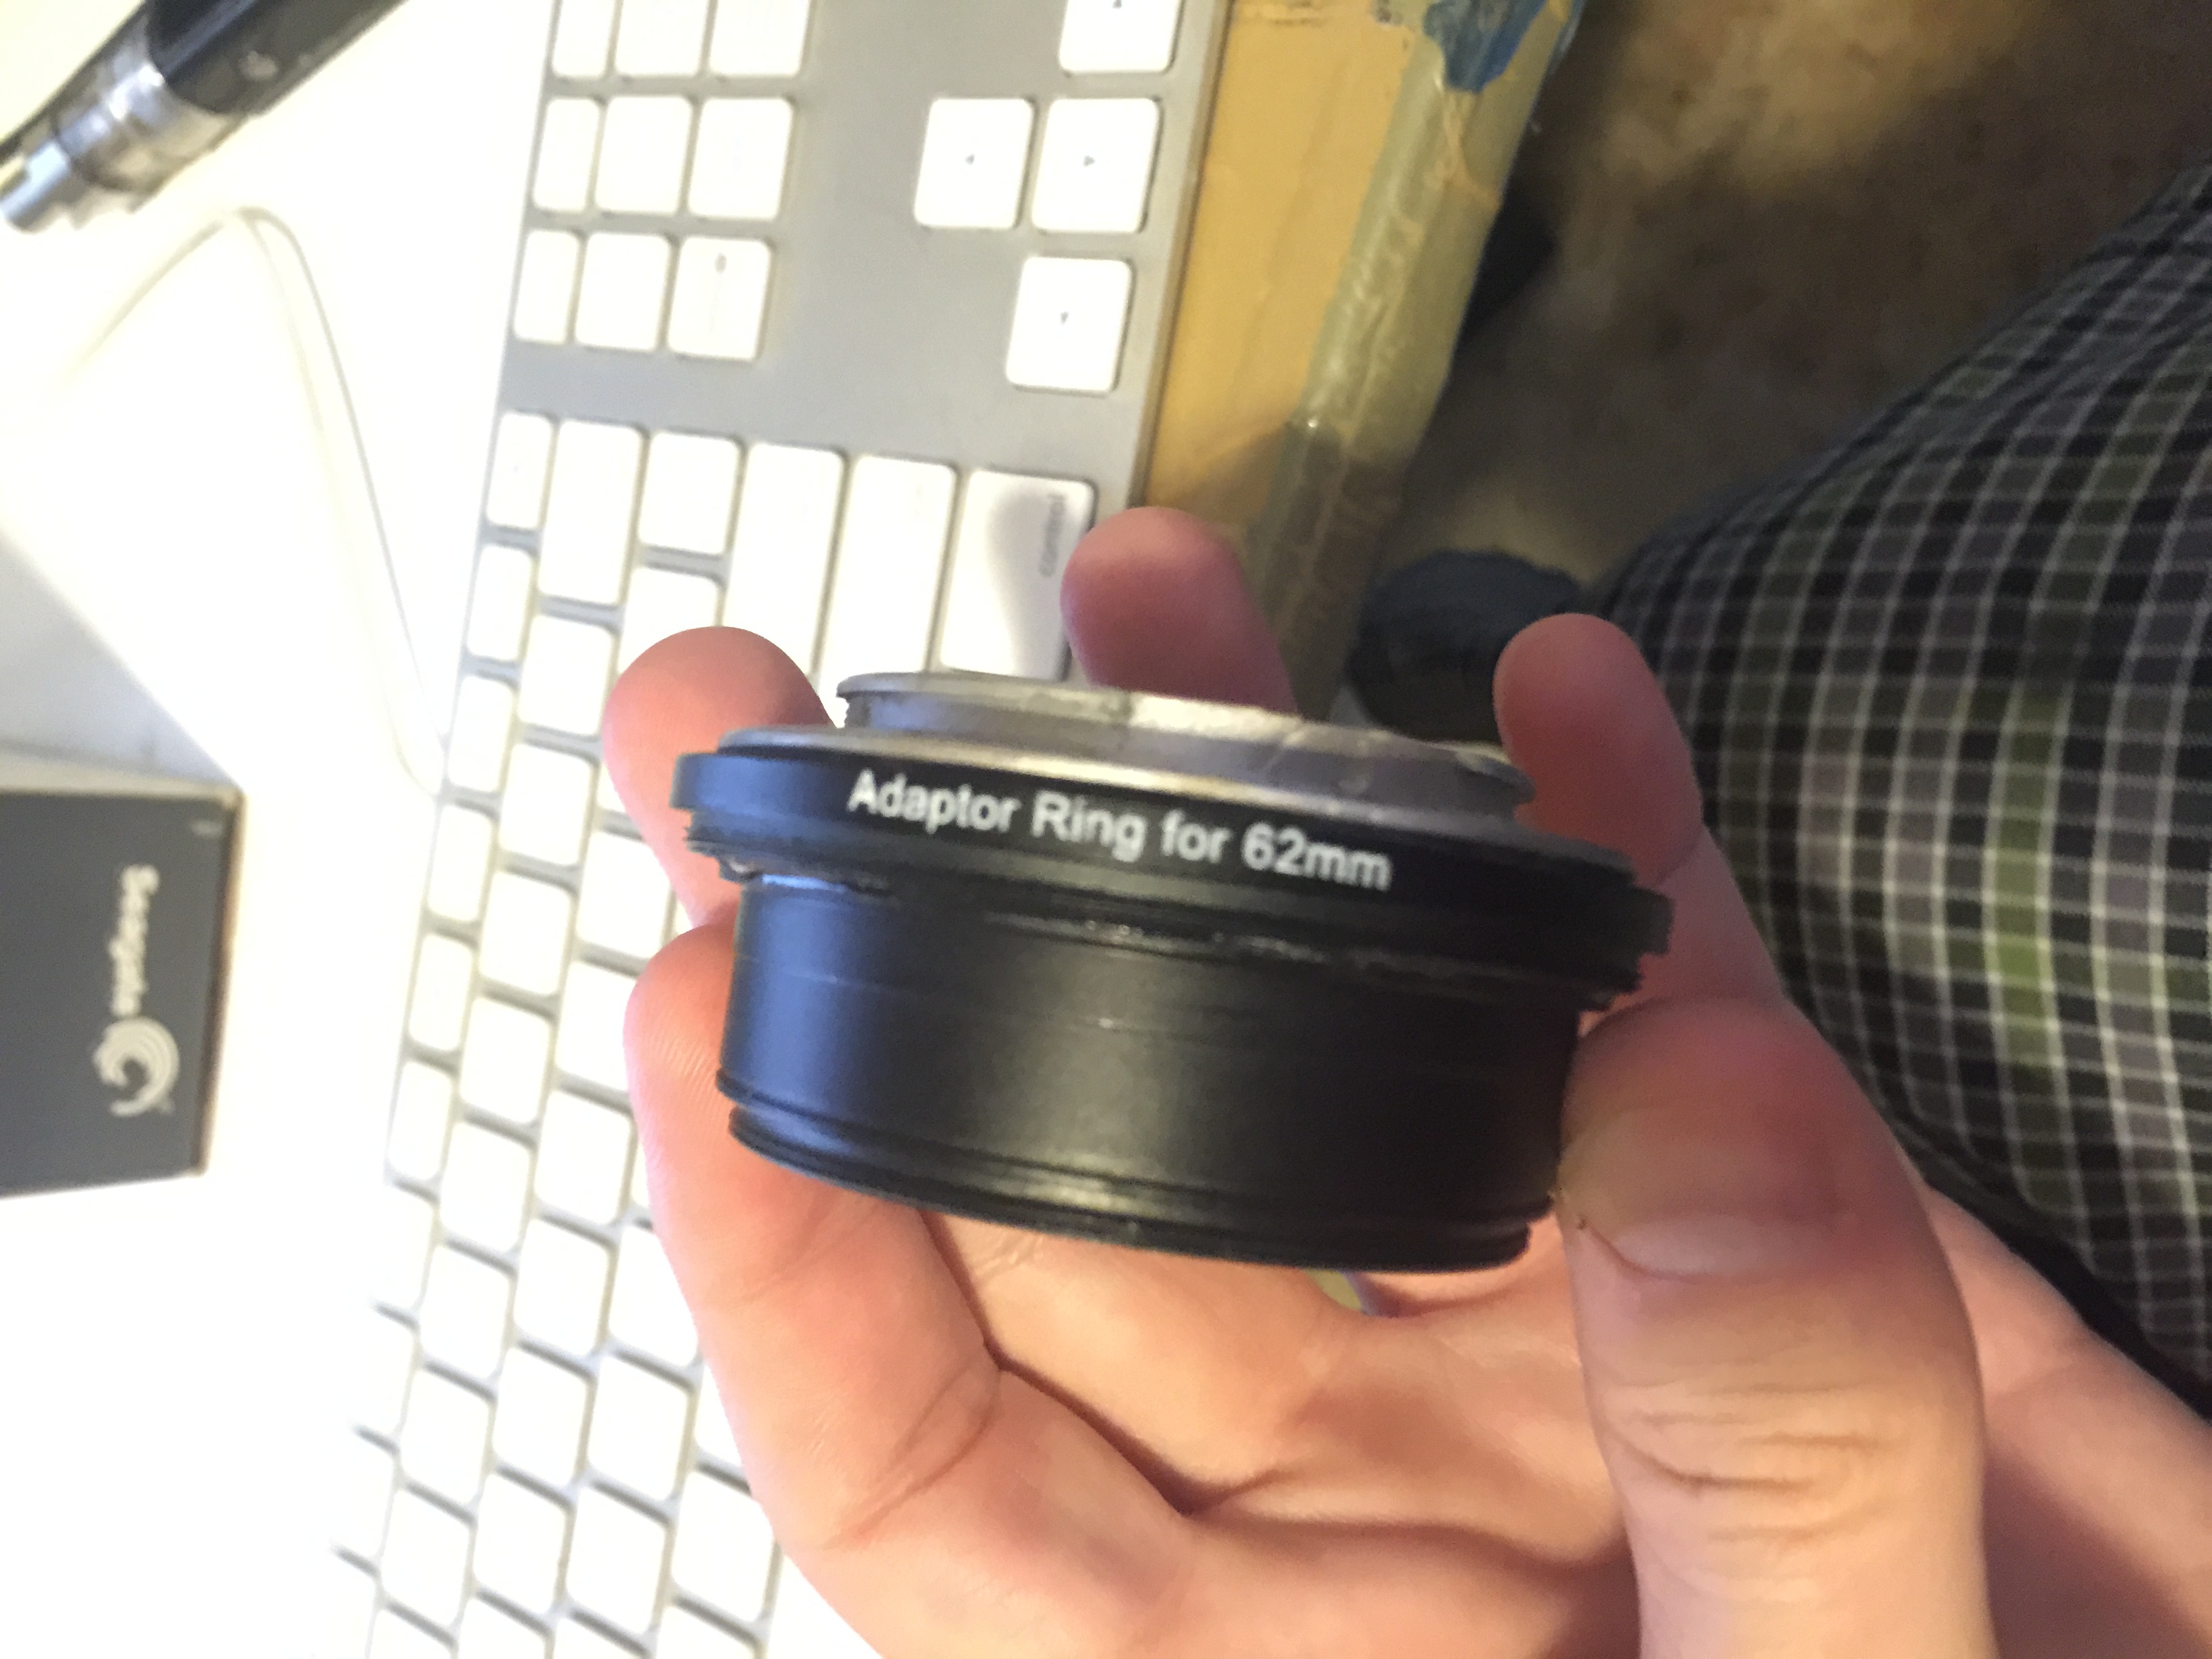
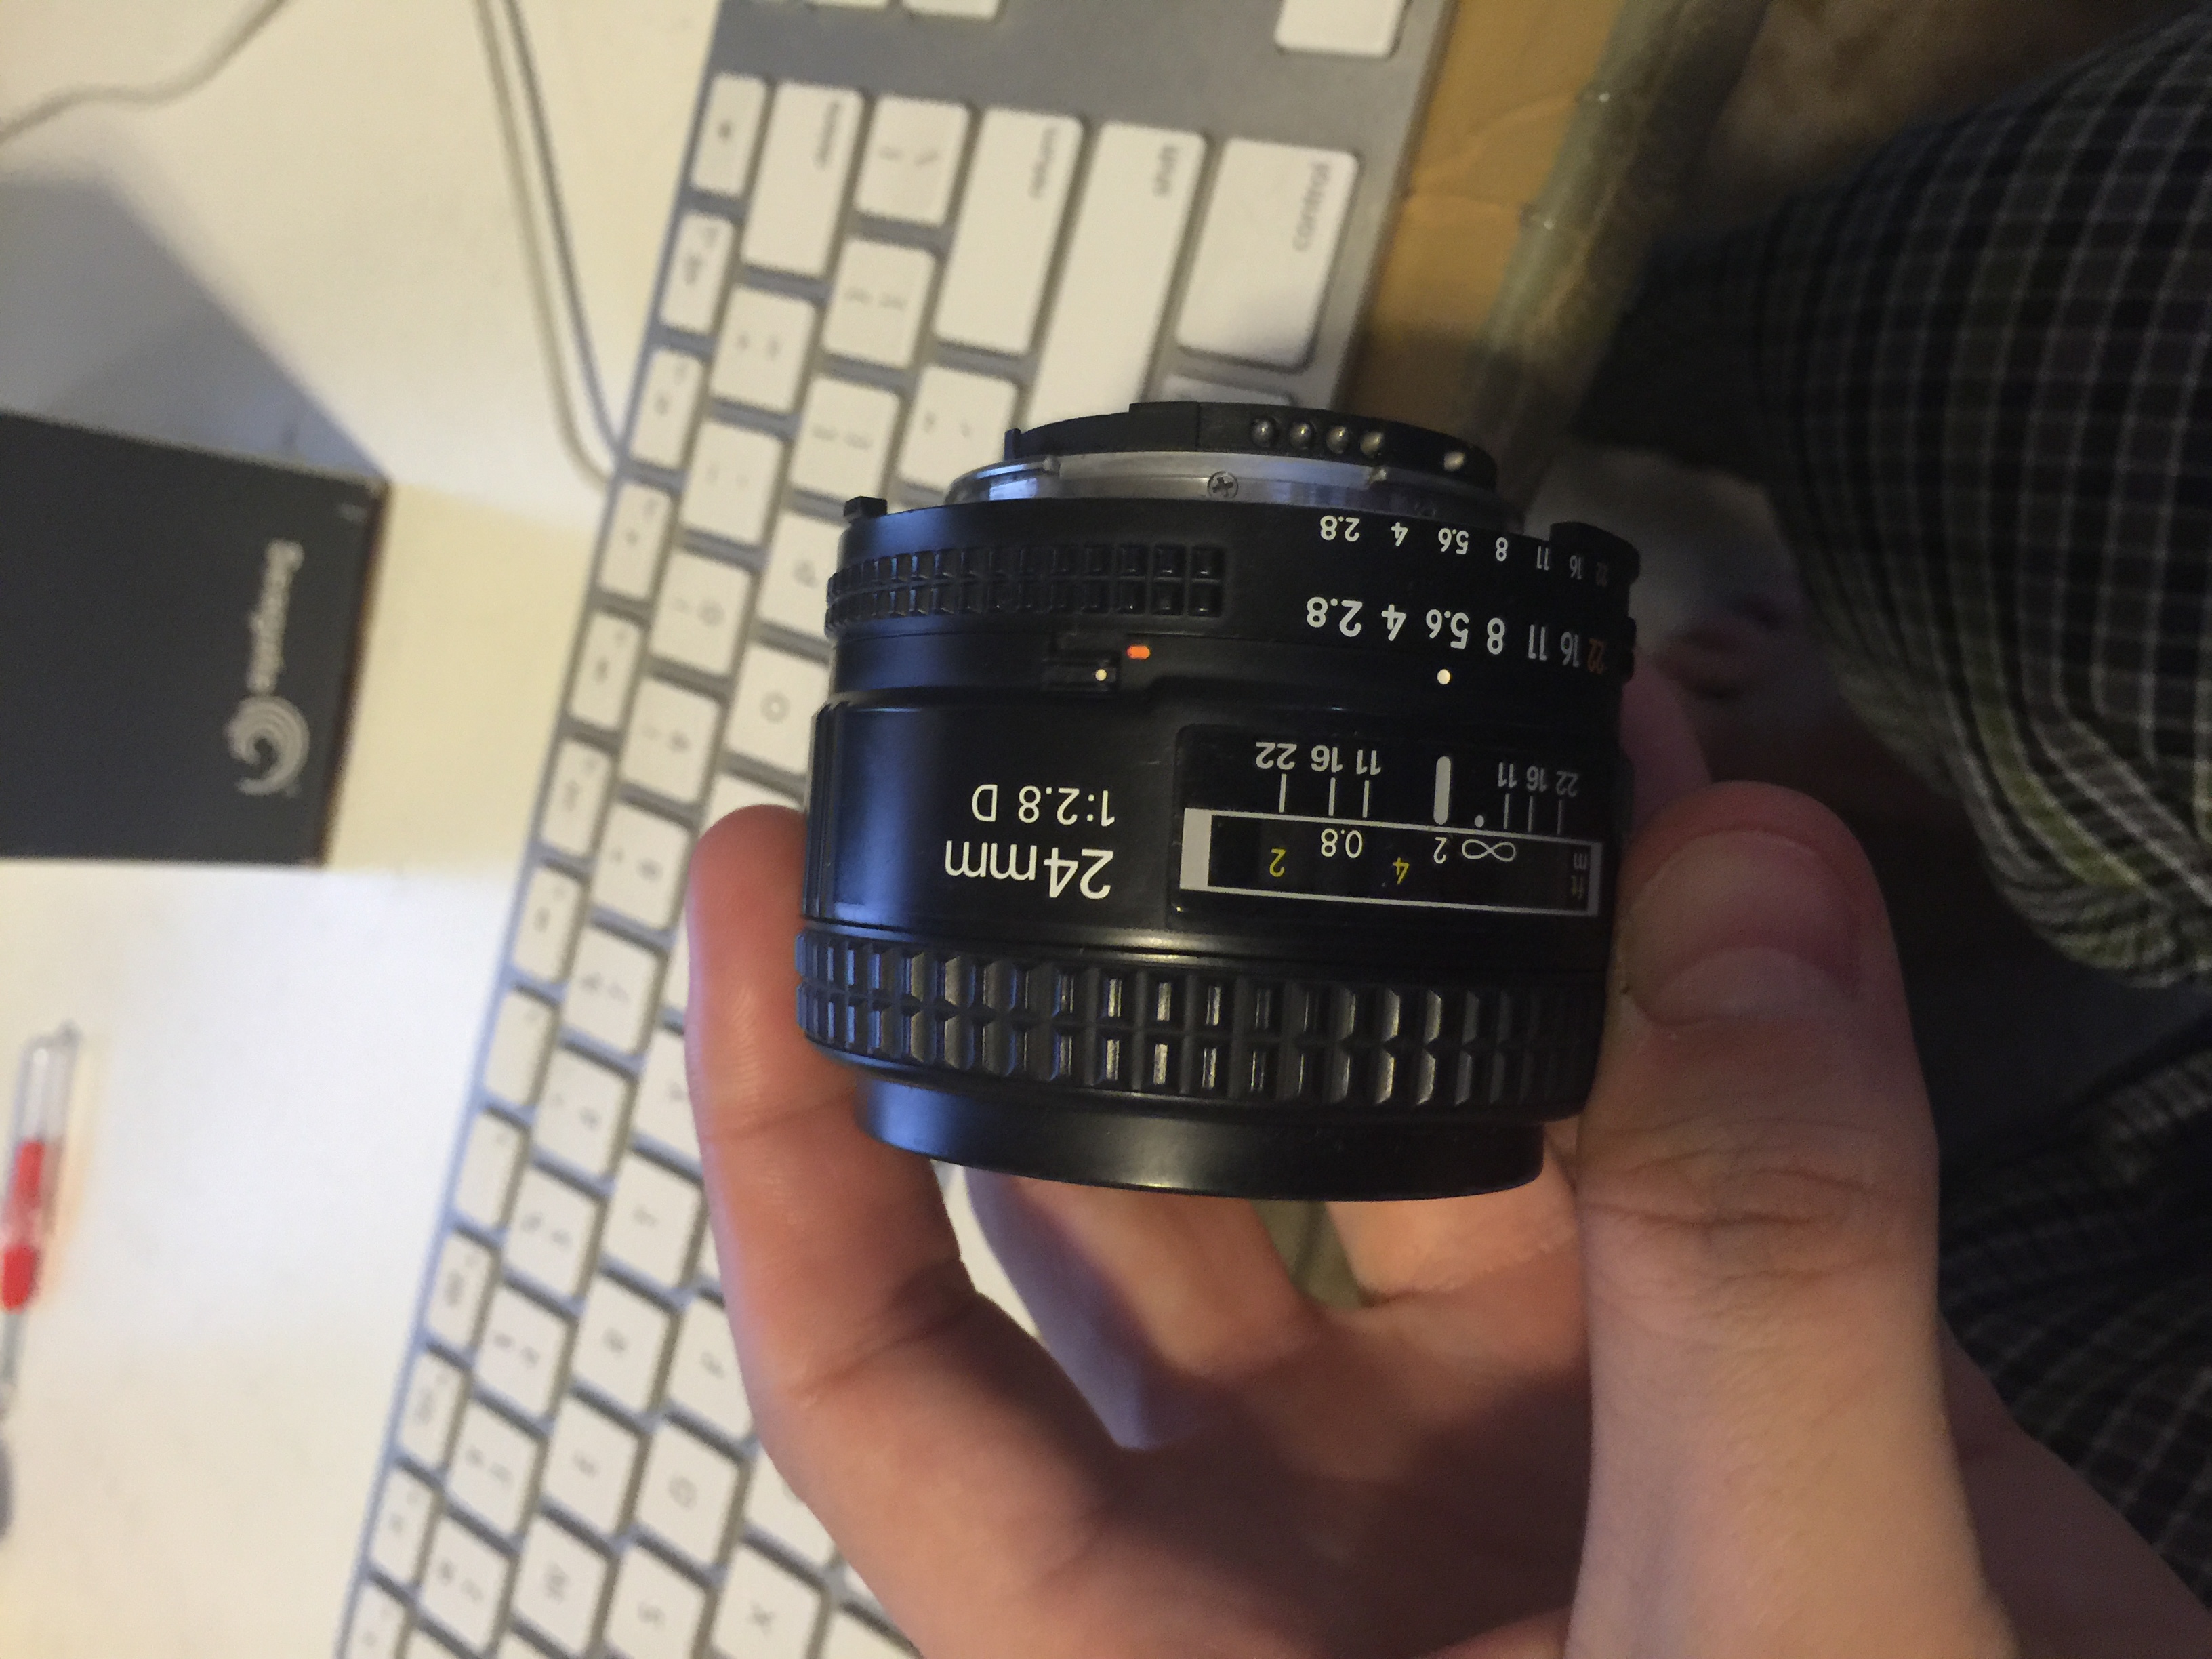
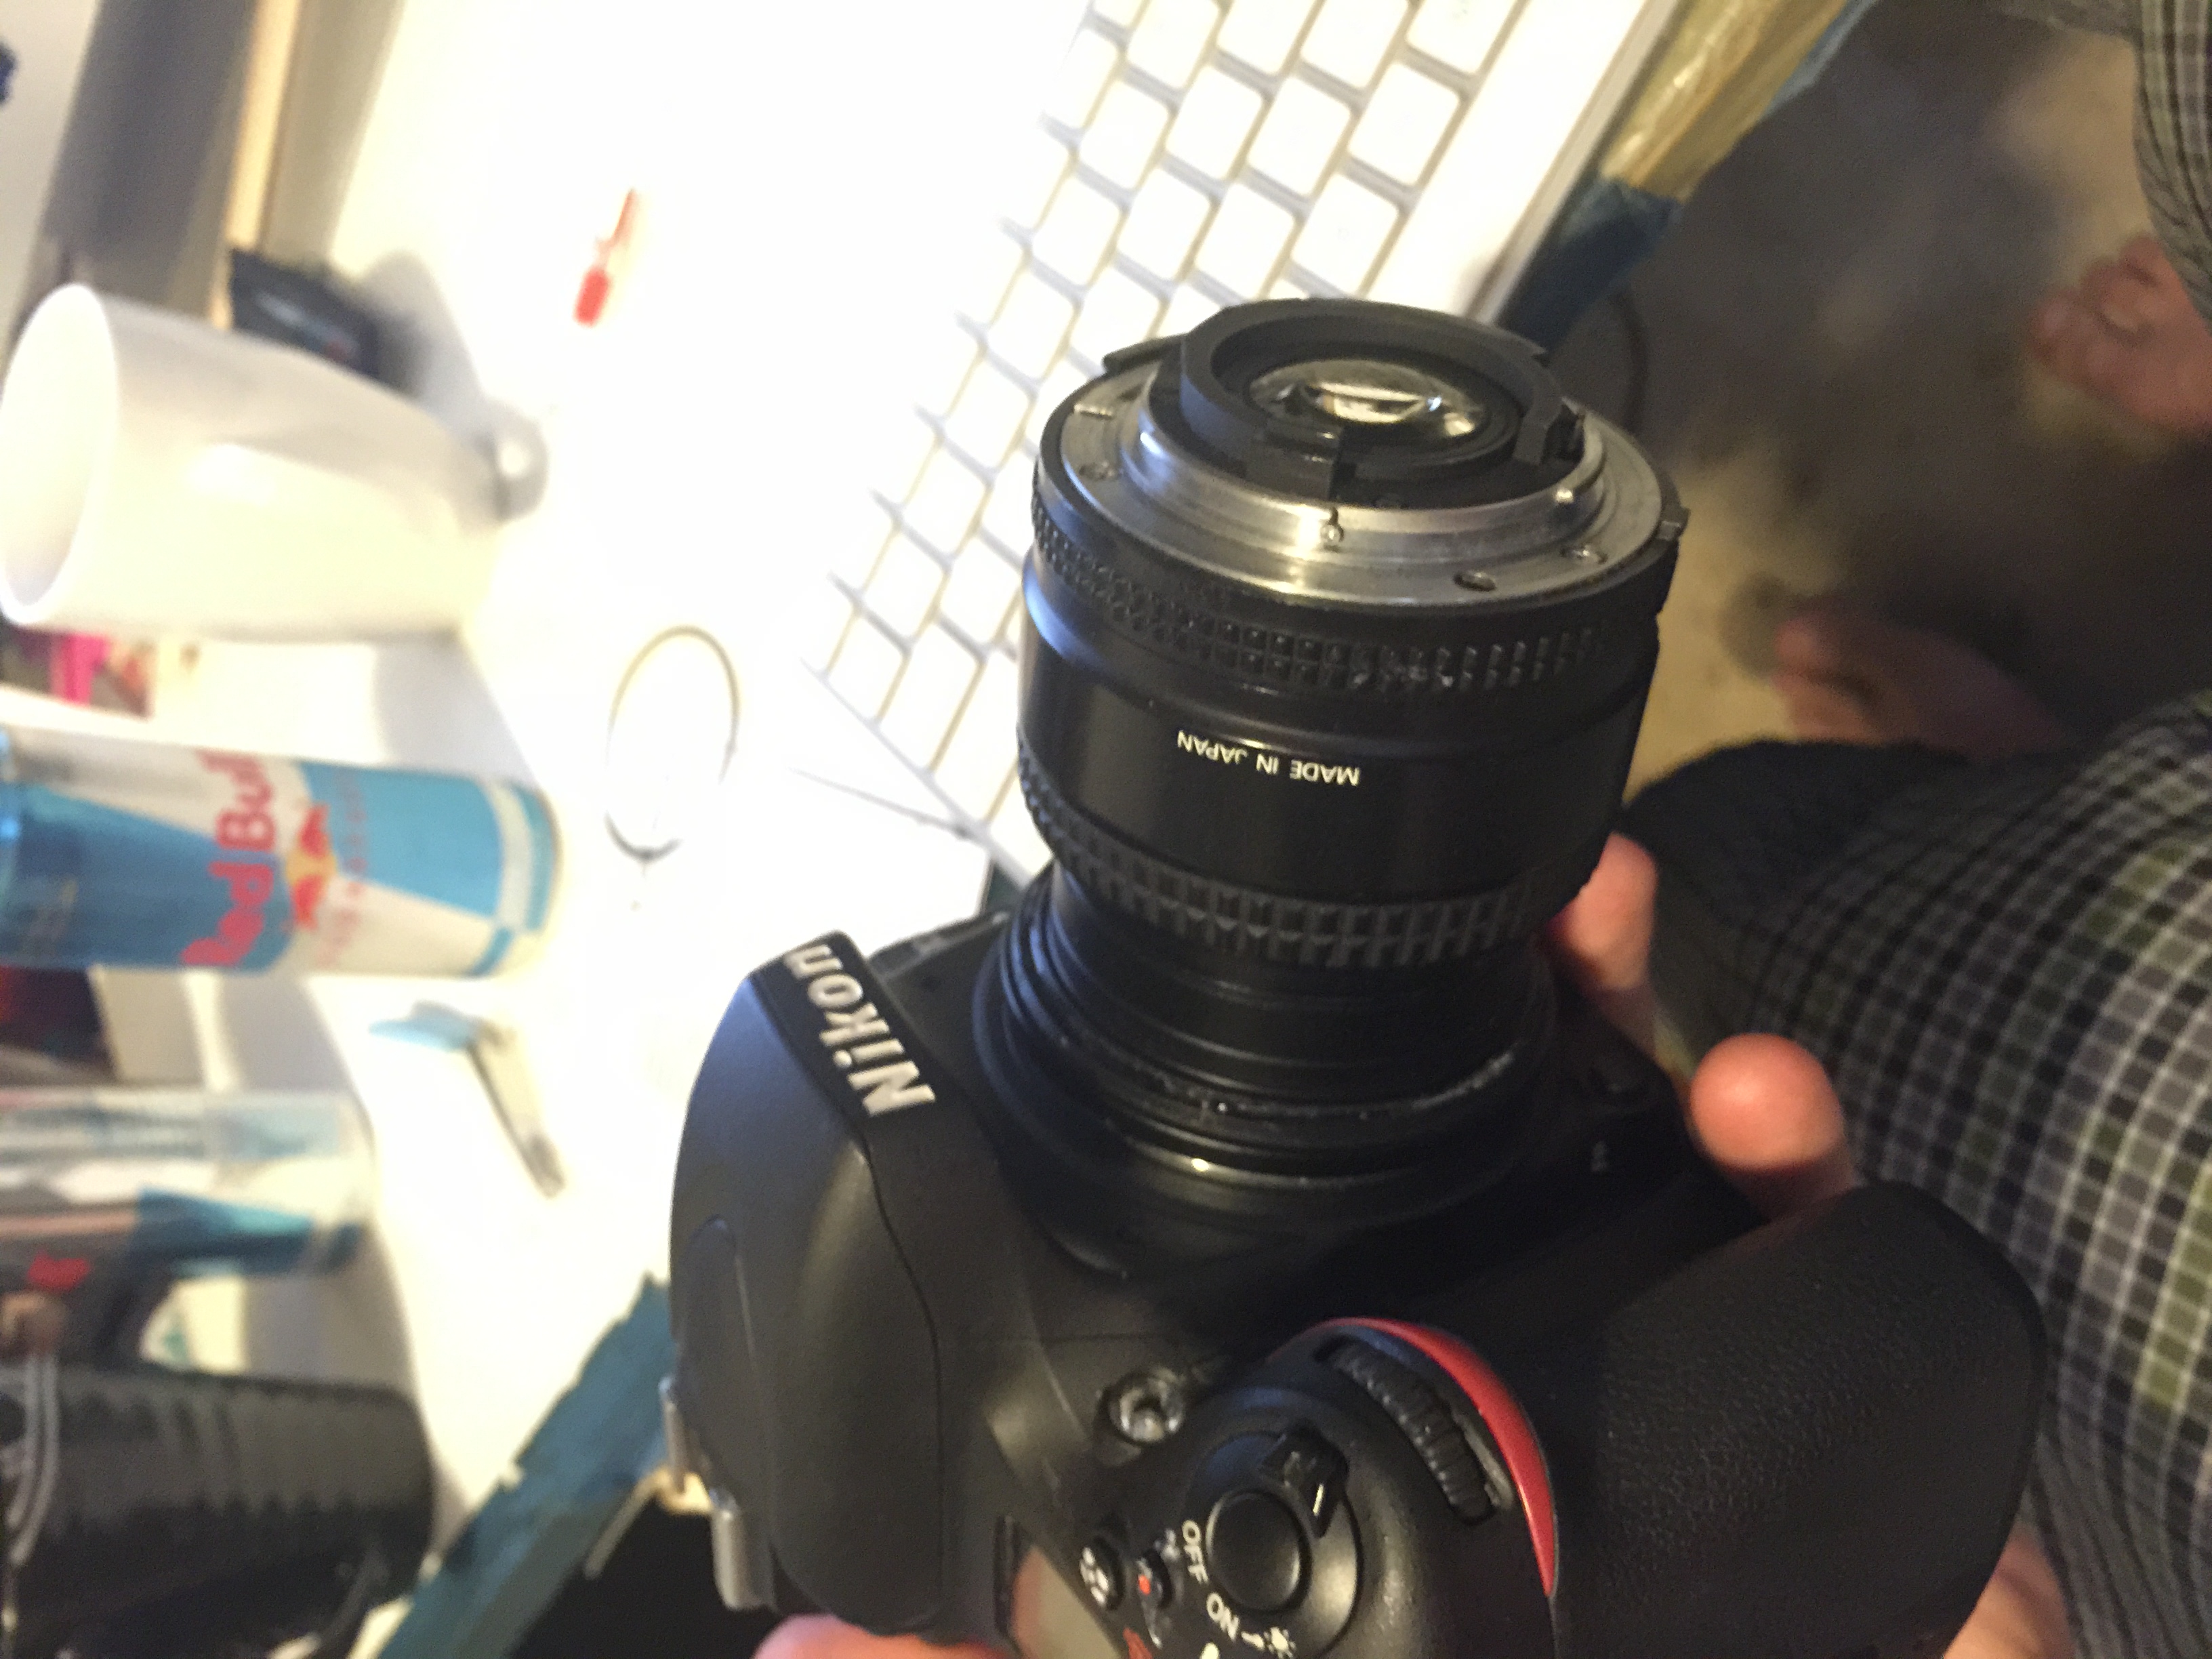
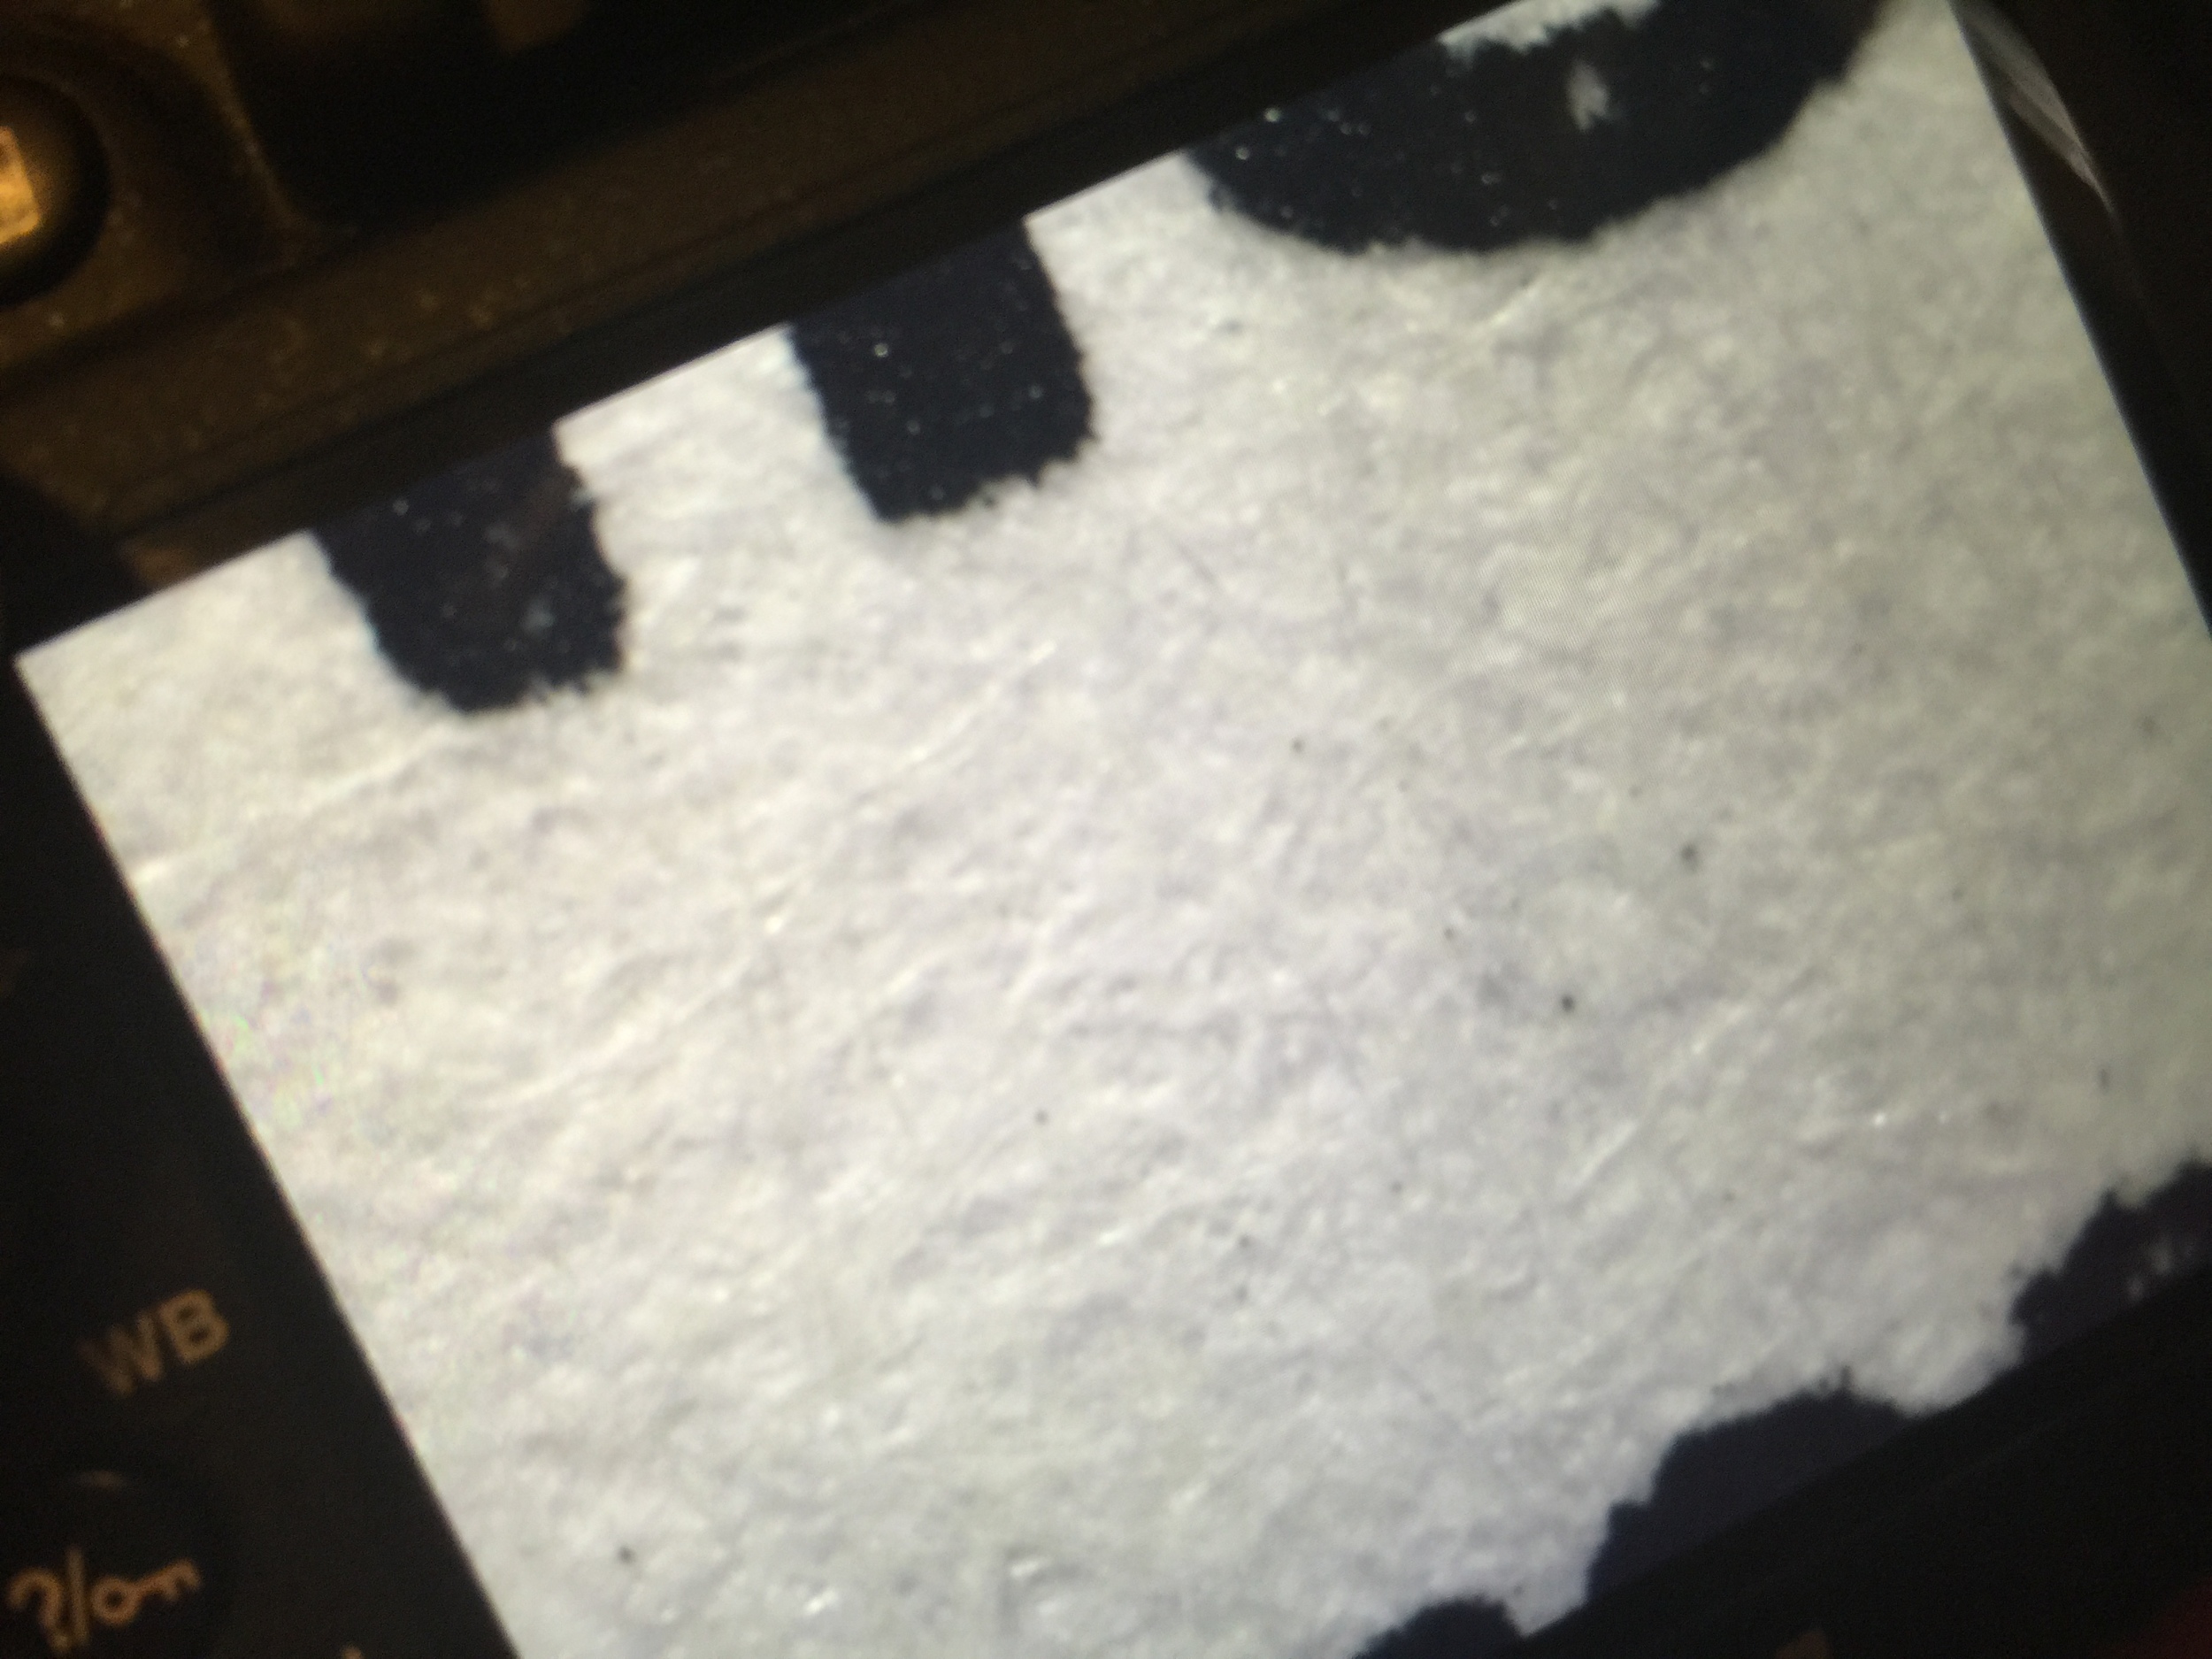
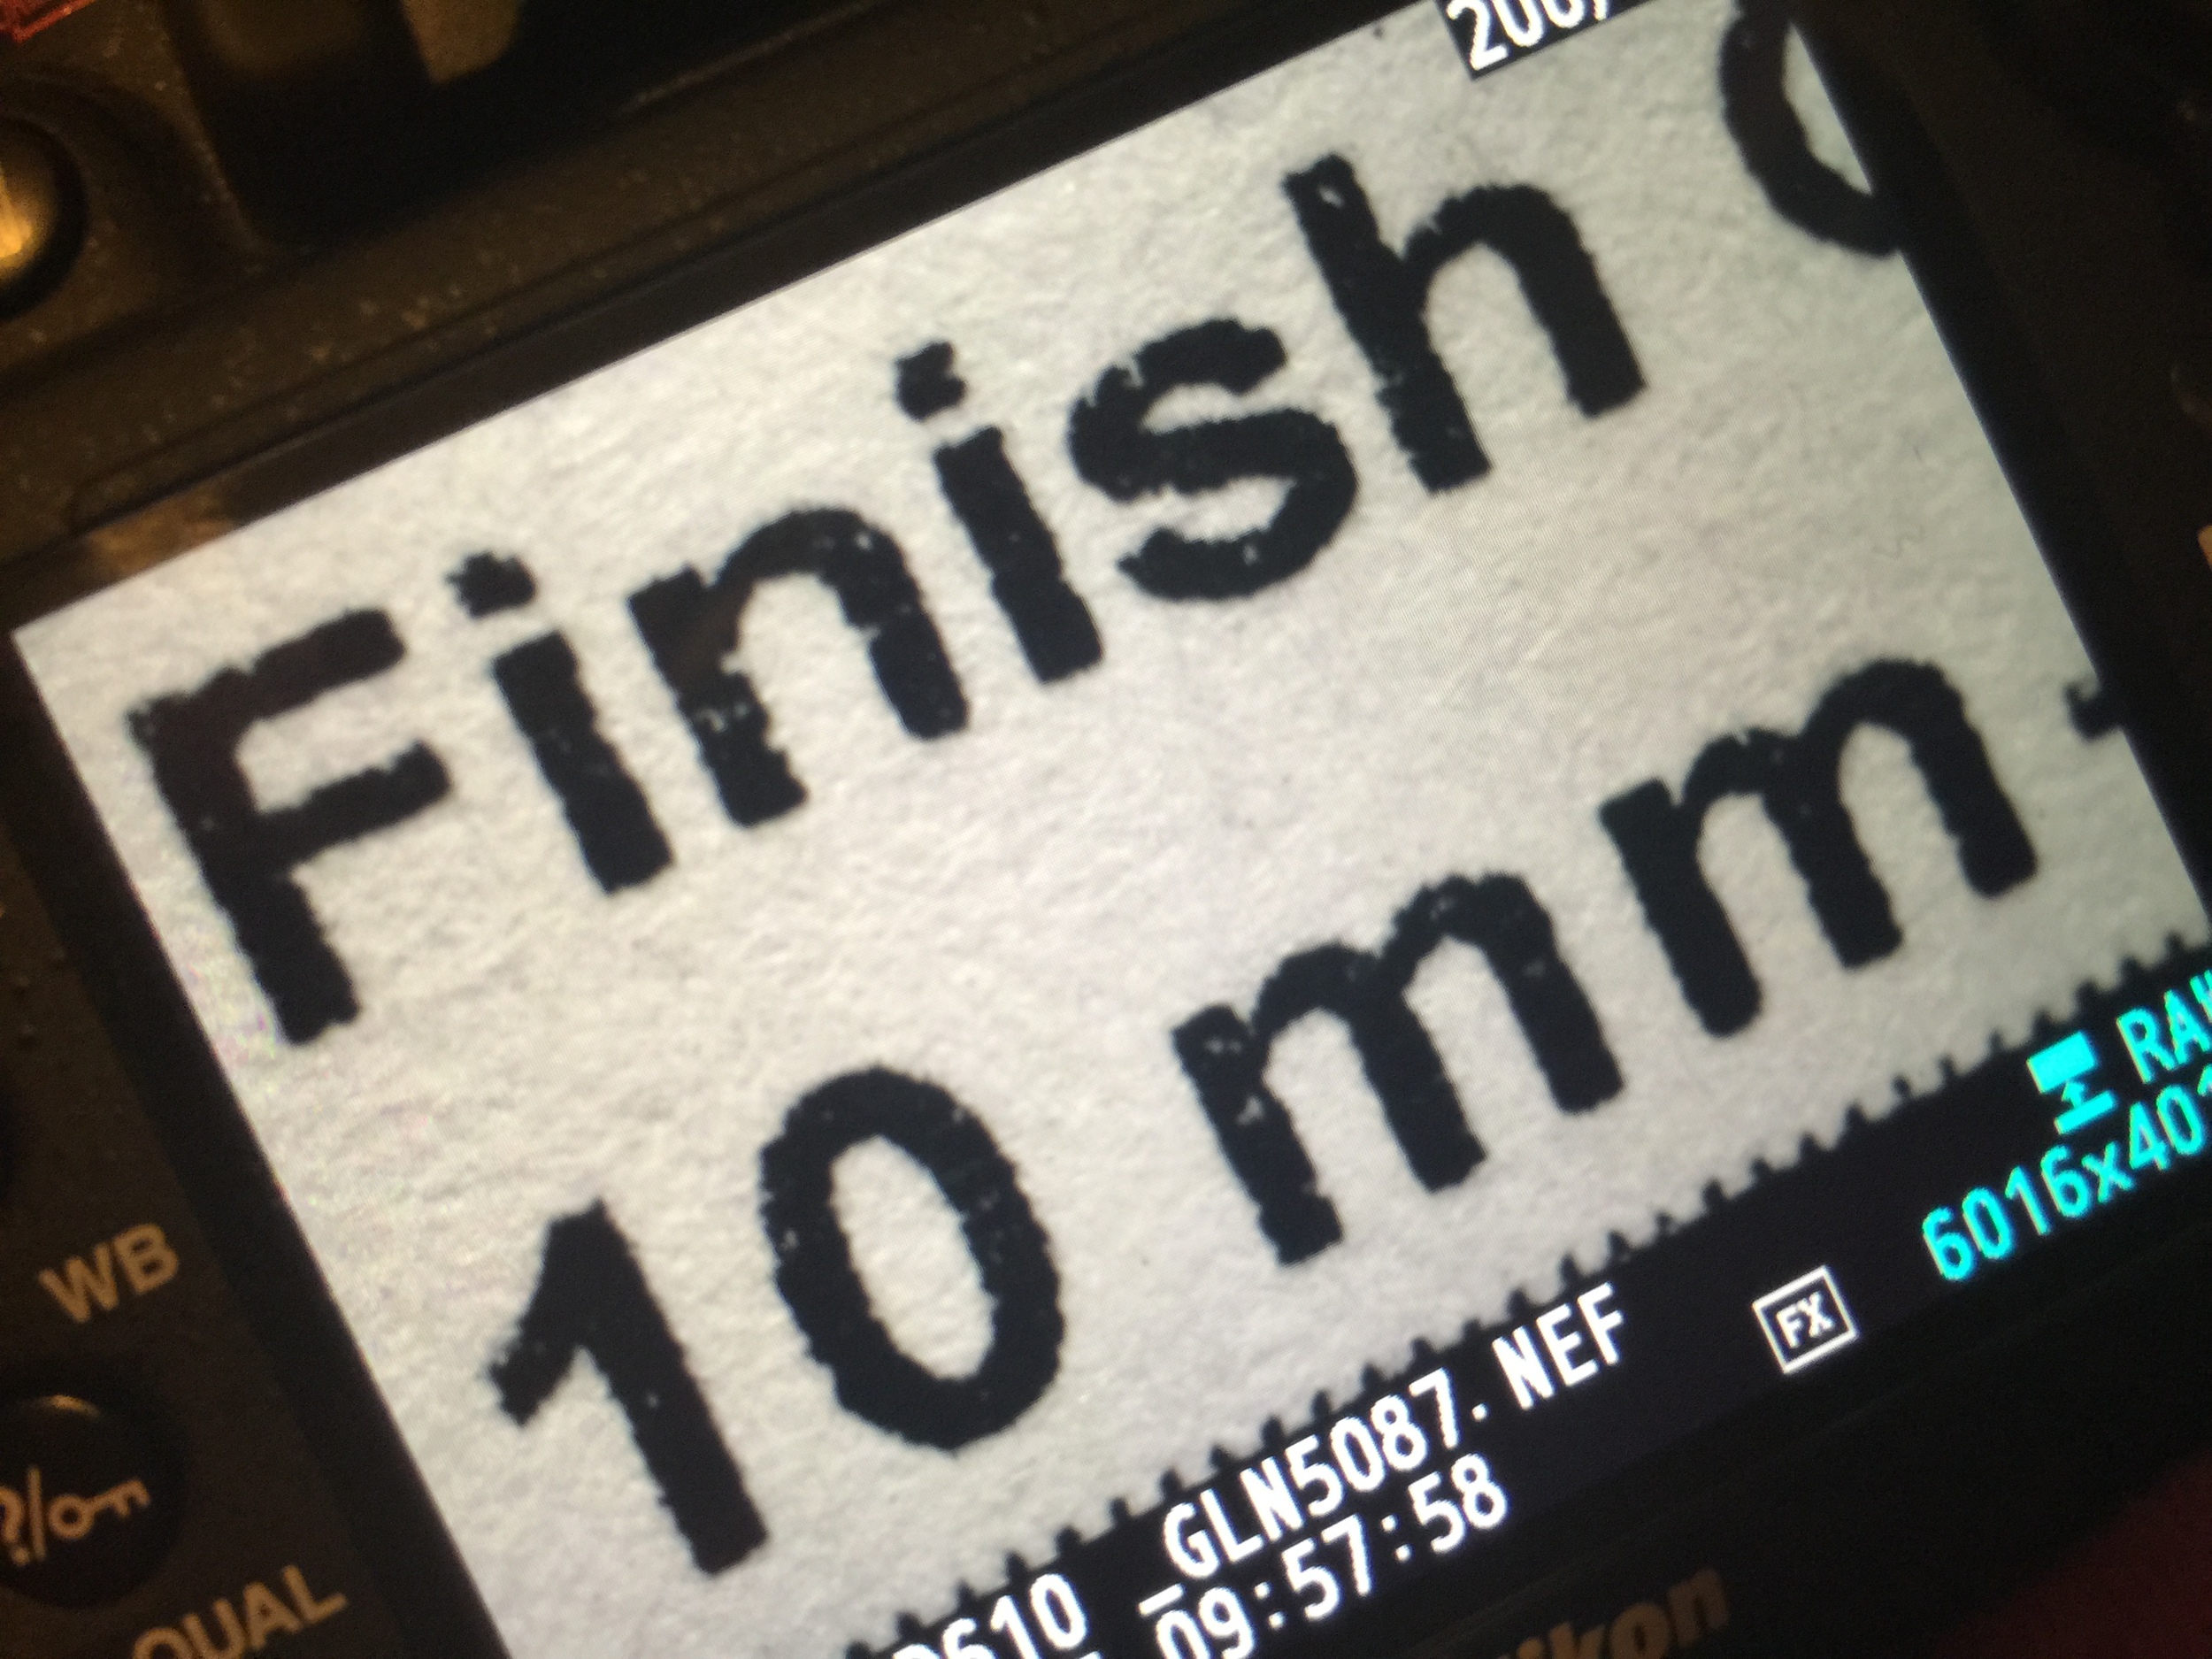
A few years ago I purchased one of those crappy $50 macro ring flashes. It broke. The unit came with a series of adapter rings to attach to various lens sizes from it's standard 52mm size. I had an old F-mount that I had removed from a really cheap manual focus lens that I've used on everything from a Diana and Holga lens to failing at attaching a Fisher Price telescope to some old 1960s Mamiya 35mm lenses. So I unglued it from the 2x Mamiya teleconverter I had and attached the F-Mount to the 62mm ring adapter then took the 52mm screw from the junk ring light and super glued it all together. The result is being able to reverse mount and 52mm lens onto any F-Mount Nikon. Of course there's no autofocus and it needs to be on a tripod. The results are quite stunning. I used a 24mm prime ƒ2.8 set to ƒ5.6 (it has a manual aperture ring) and captured a regular printout sheet of paper using a SP-600 at 1/2 power at ISO 50 and 1/200th shutter speed. Here's the results and the build. Examples are from iPhone 6+ capture of the Nikon D610 LCD.


30" x 30" Mounting


Printing
500+ sheets

Ran out of ink
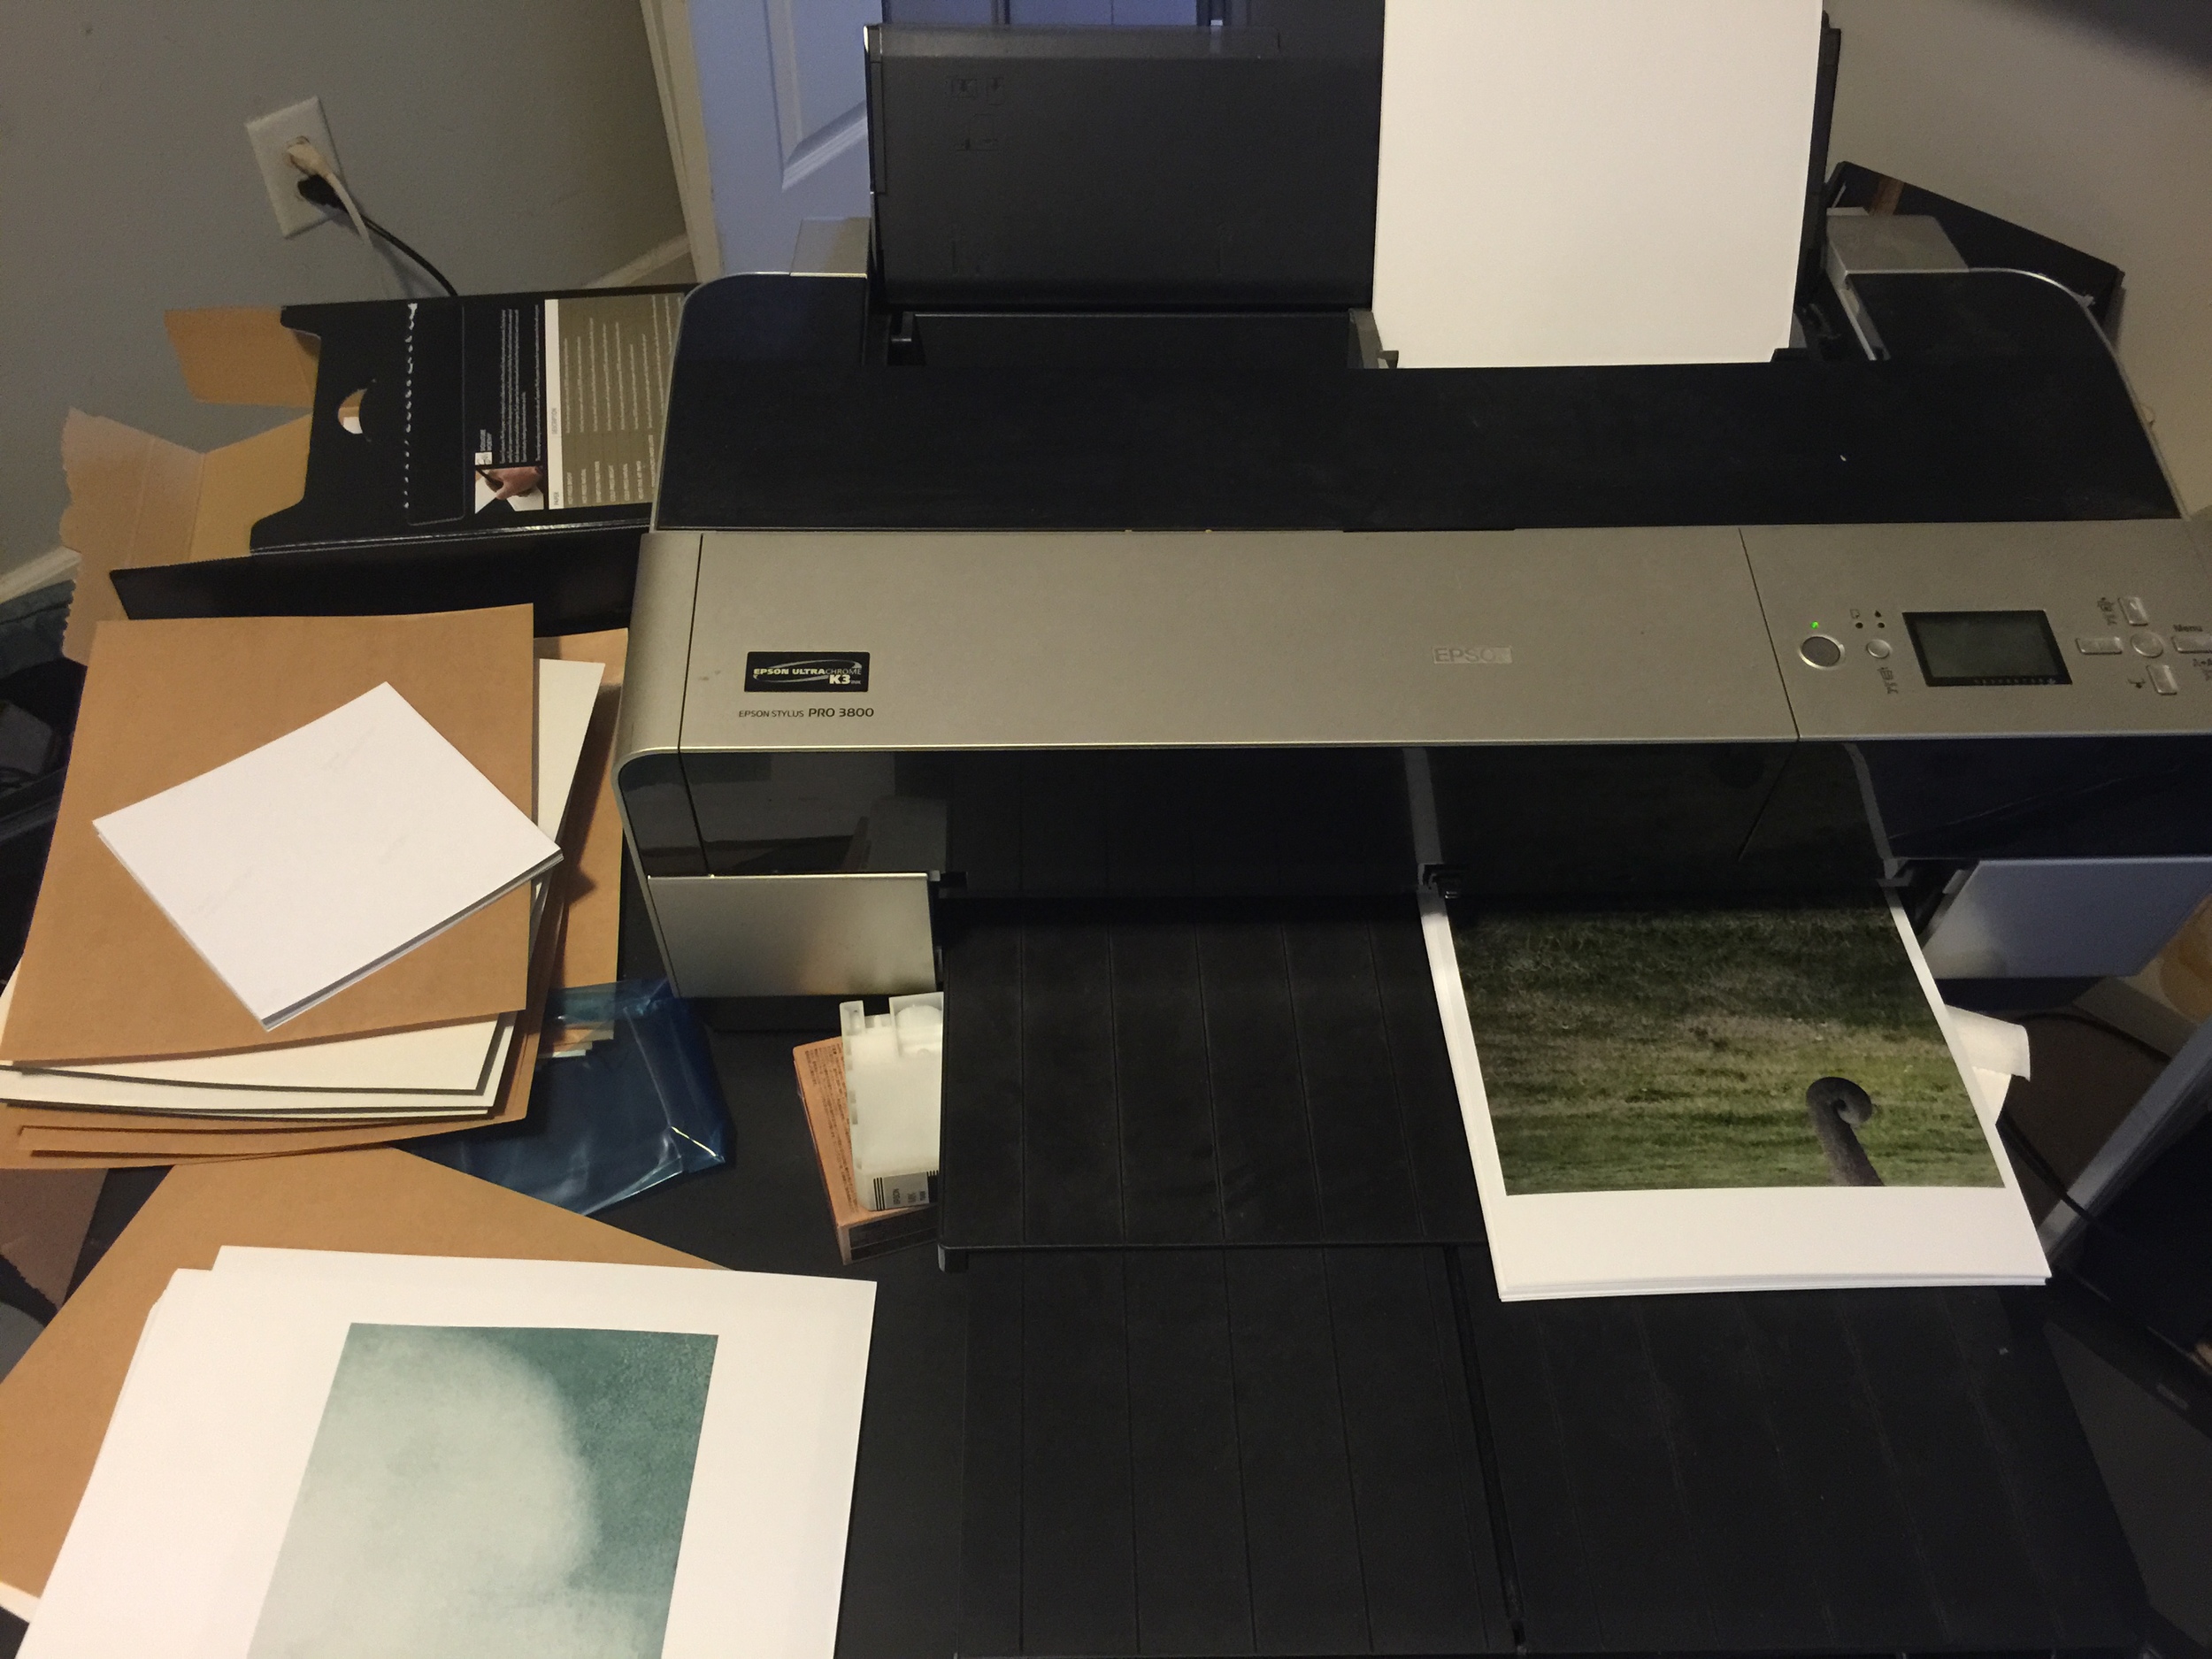
Printing

Still printing and cutting. Over 2600 8 inch cuts.

Sorting

Cutting and stacking
Making 30" Panels

WORK SPACE

RAW MATERIALS

CONSTRUCTION BEGINS

SIDES

SIDES ANGLED AND CORNER SUPPORTS

CORNER SUPPORTS

PANEL TOPS

ALMOST FINISHED PANELS

READY FOR OUT SIDE SIDES AND SANDING

SANDING
Panelism
Panelism is a form of art presentation where the larger image is constructed in a grid of smaller "panels". These gridded panels stitched together to form the large picture or work is used to create a narrative of contrast between natural, organic forms and the rigid artificiality humanity creates as living centers or cities. The gridded panels of the work synthesize rigid lines of buildings, roads, even parks squared off within a predetermined area inside a living center. This is used to show the struggle of the natural versus the created, the organic versus the constructed.

AWAKEN - Art Show - Kai Lin Art - December 19 - 7pm
Come on out if you can make it!
Making Encaustic Wax Medium
In this post you will see the basic, fundamental items you will need to have on hand to make your encaustic wax medium, as well as the process of making the medium itself. While you can buy premixed encaustic medium, making your own is much more personal and fun. The first thing the keep in mind when making your encaustic wax medium is safety. Hot wax WILL burn you. Remember to wear long sleeves and pot holders or some sort of hand protection.
NEEDED EQUIPMENT
Heat gun
Variable temperature is best.
Griddle
Must have temperature control.
Inexpensive brushes
These will get ruined over time, horse hair / nylon work well. Horse hair brushes will come apart in the application of the wax the nylon brushes will not.
Foil Containers
Get these at any grocery store. Used to put wax medium in to cool. Mini bread loaf ones are best.
Food Scale
Used to weigh the materials for the wax medium.
Unbleached Beeswax
There are various products for the beeswax. Pellets melt best but you can get blocks of the wax as well.
Damar Resin
This acts as a hardener for the wax medium and can be found at most art stores or art supply websites.
Double Boiler
A pot and a metal bowl will work. Find a bowl with a handle and pour spout.
China Hat Strainer
This is a basic pointed strainer, found at food supply or grocery stores.
Paper Napkins
Used to filter the wax medium.
Thermometer
Used to monitor temperature
MAKING THE WAX MEDIUM
- Take the damar resin pieces, they come in rock form, and place them in a plastic bag. Using a hammer crush the rocks into a powder. A mortar and pestle will work best for this process as well, but a bag and hammer are much less expensive. Damar resin will melt and incorporate into they melted wax easier in powder form.
- Weigh out the beeswax and the damar resin. Use an 8:1 ratio for this mixture. Using the food scale weigh out 8 ounces of beeswax and 1 ounce of damar resin. Keep these separated. You can use an 8:2 wax to resin ratio but I would’ recommend more than that amount of damar. The more damar incorporates into the encaustic medium the more brittle it will be once cooled. This can lead to cracking over time. The damar both strengthens and increases the melting point of the medium.
- Fill fill the pot half of your double boiler with water and get some extra water on hand in case you need to add to the pot. Place the pot on the stove or heating element.
- In the metal bowl half of your double boiler place the 8 ounces of wax and set it over the pot. Bring the water to a boil. Use the thermometer to get the wax to a temperature of 145ºF – 150ºF. WARNING The flash point of beeswax is near 400ºF, be very careful when doing this part over a gas range. Electric works best, avoid gas ranges and open flame if possible.
- Once the wax is melted slowly stir in the resin powder. Bring the temperature of the mixture to 175ºF. 175ºF is the melting point of the resin, generally. Stir the mixture constantly until the resin is completely melted and incorporated into the wax. Once it’s all meted and there’s no resin sitting in the bottom or floating around it’s ready to strain. It can take a while for the resin to completely incorporate into the wax.
- Take a napkin NOT A PAPER TOWEL and unfold it. Line the china hat strainer with the napkin and hold it over the foil container. Pour the wax medium through the napkin and into the foil loaf container, or whatever cooling vessel you’re using. The napkin will strain out all the insect and leaf segments / impurities from the mixture. Do this over cardboard or wax paper. This will help keep wax from getting everywhere.
- Set off to the side and allow to cool overnight.
TIPS
- You can line your cooling vessels with wax paper and use the wax paper to wrap your cooled block for storage.
- If you play around with different wax to damar resin ratios you can scratch the ratio directly onto the cooled block before storage.
- Save cardboard for future projects to surround your work surface.